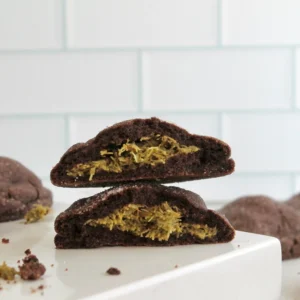

Peanut Butter Dubai Chocolate Bar
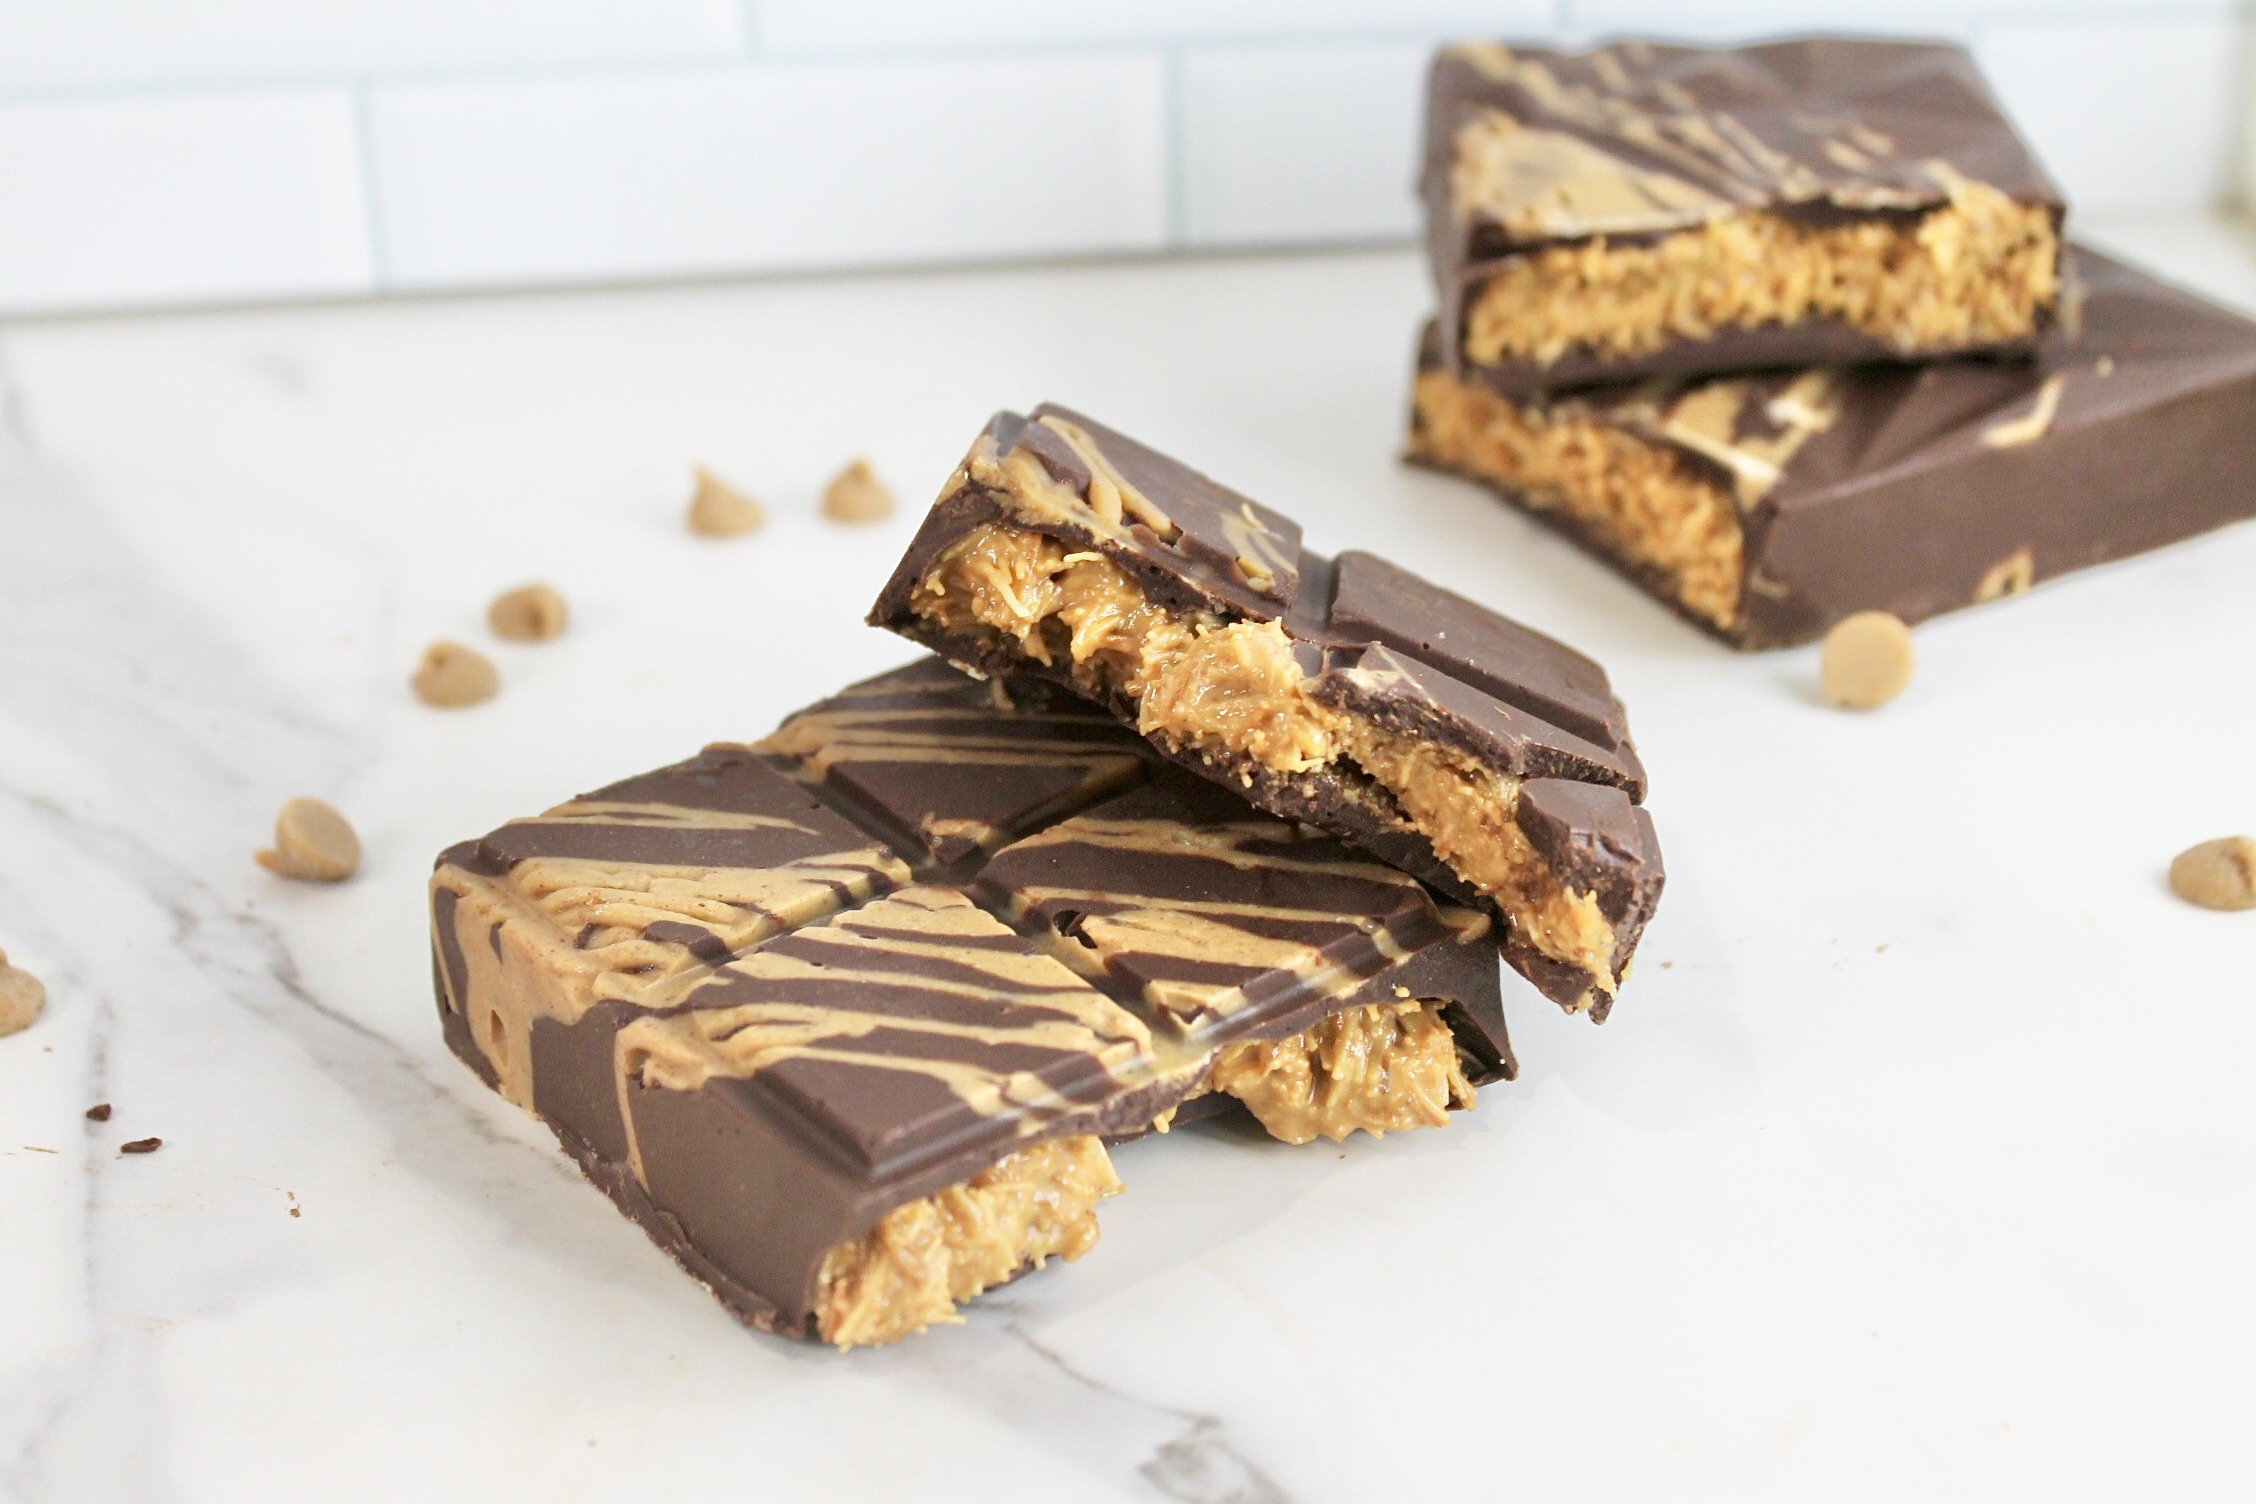
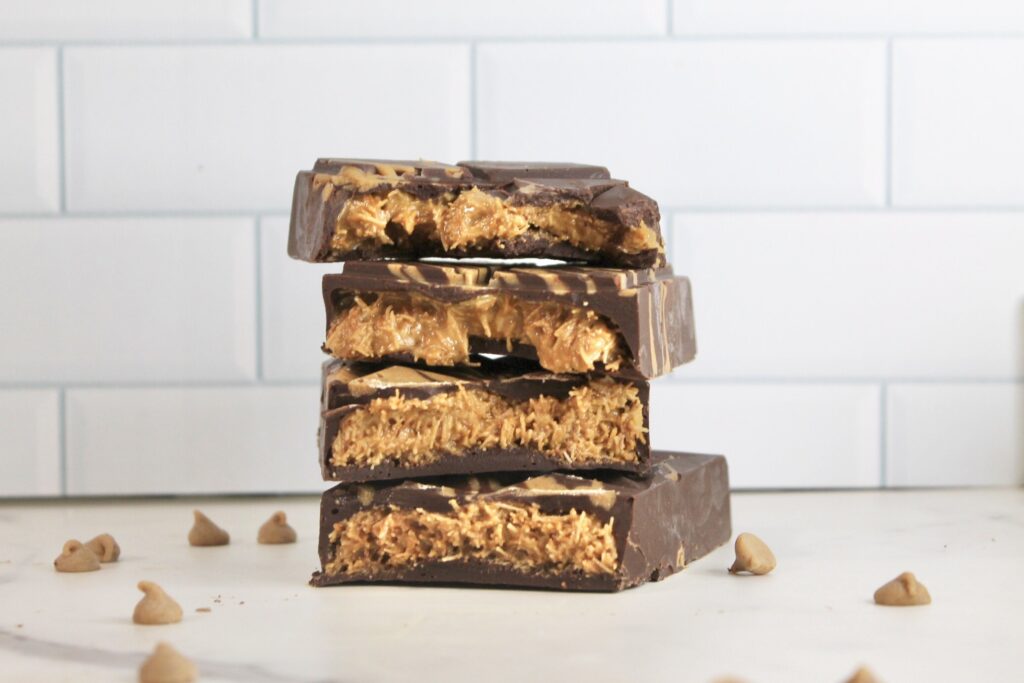
The Peanut Butter Dubai Chocolate Bar is a total dream for anyone who loves the classic combo of chocolate and peanut butter. The best part? It’s super simple to make requires no oven time! Inspired by the Dubai chocolate bar craze, we decided to try our own stuffed versions and were honestly amazed at how easy it was. If you are looking for a quick, no oven treat that feels a little fancy but takes almost no effort, this is it. Peanut Butter fans, get ready to swoon over these creamy, sweet, and chocolatey bars. These are just as fun to make as they are to eat, and they are guaranteed to impress anyone lucky enough to try them!
Easy Bar Hack
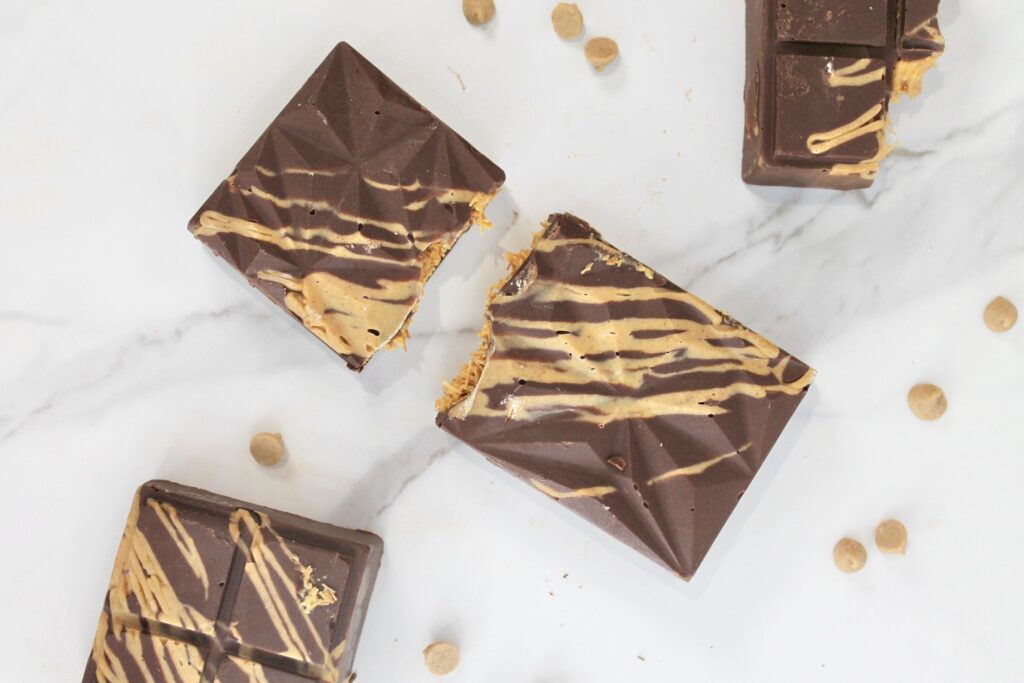
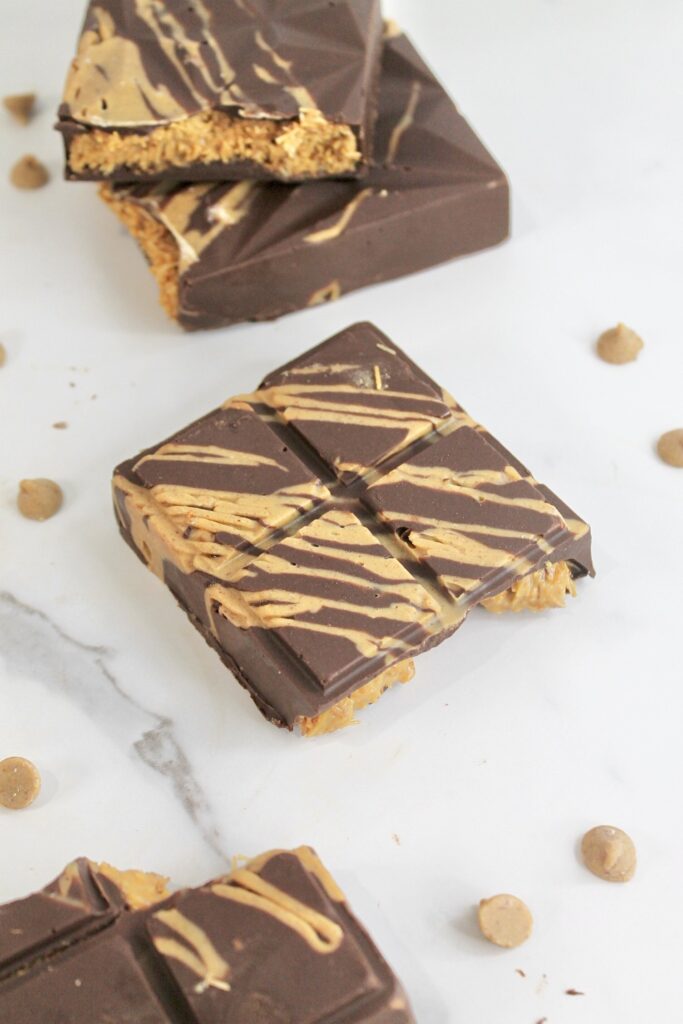
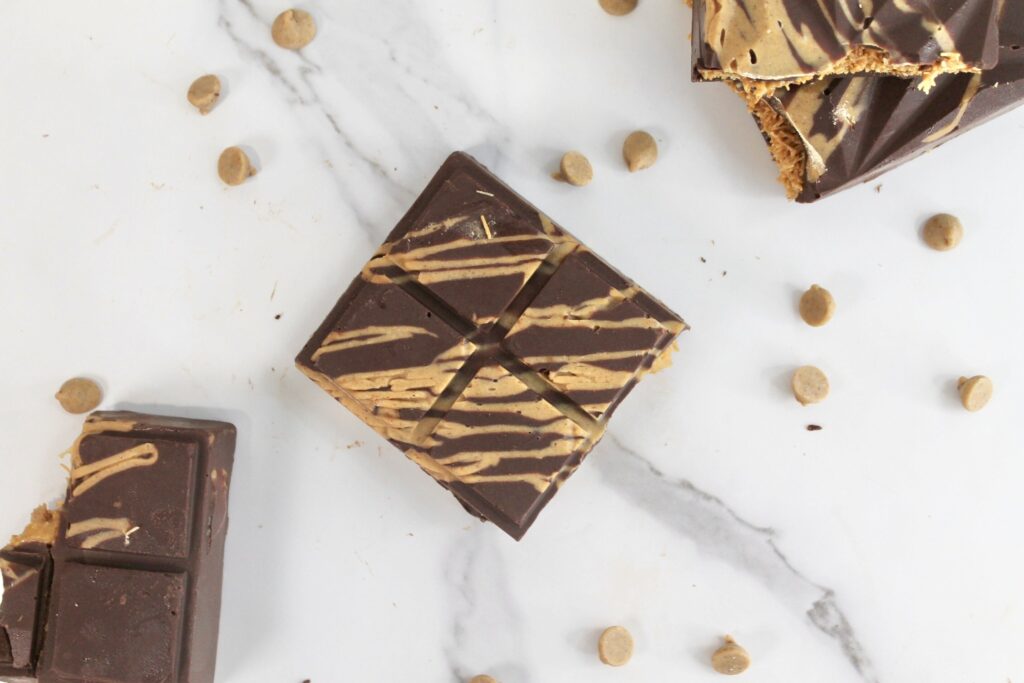
To make these peanut butter Dubai chocolate bars, we used a chocolate bar mold, which is what gives them that perfect professional look. You can find molds like these at Walmart, Amazon, Dollar Stores, or pretty much anywhere kitchen supplies are sold. But don’t worry if you don’t have one on hand. A simple pan lined with parchment paper works just as well, and you can still get thick, delicious bars that are easy to slice and share!
Our family has always been obsessed with Reese’s and anything that combined chocolate and peanut butter, so it only made sense to bring that flavor into our stuffed chocolate bars. That love inspired us to swap the pistachio filling for creamy peanut butter, creating a bar that’s rich, sweet, and satisfyingly nutty. It’s a simple twist, but it takes the bar to a whole new level that is perfect for anyone who can’t get enough of that classic peanut butter chocolate combo (like us!).
Why I Measure in Grams (and You Might Want To, Too)
If you’ve ever made the same recipe twice and gotten two totally different results, the measuring method is often the reason.
Professional bakeries almost always measure by weight, not volume. Measuring cups leave room for inconsistency—especially with ingredients that pack differently depending on how you scoop or pour them. A scale removes all of that guesswork.
One of the biggest offenders is sugar. Different sugars (and even the same sugar measured by different people) can vary wildly in volume, but 100 grams is always 100 grams. Measuring by weight gives you repeatable, bakery-consistent results and cuts down on extra dishes at the same time.
A food scale is one of the best (and most affordable) investments you can make for your kitchen if you love baking and want your recipes to turn out exactly the same every time.
Ingredients To Prepare
Before baking, take a few minutes to gather the ingredients below and to ensure that they are sweet, yet salty, and perfectly chocolatey!
Once you have all of the ingredients ready to go, you’re officially set up for peanut butter Dubai chocolate bar success. I always recommend measuring everything out ahead of time so the process is smoother, and you can focus on making the most delicious chocolate bar possible!
Peanut Butter Dubai Chocolate Bar
Ingredients
- 1 cup chocolate your choice of milk, semi-sweet, dark, or a mix!
- 2 cups kataifi
- 4 tbsp butter
- 2/3 cup peanut butter
- 2 tbsp powdered sugar
Method
- Place the chocolate in a microwave-safe bowl and heat in 30-second intervals, stirring between each, until fully melted and smooth.
- Pour about half of the melted chocolate into a chocolate bar mold. Tilt and spread the chocolate evenly along the bottom and sides of the mold.
- Transfer the mold to the freezer and chill for about 20 minutes, or until the chocolate is fully set.
- While the chocolate chills, melt the butter in a pan over medium-low heat.
- Add the kataifi and toast for about 10 minutes, stirring frequently, until lightly golden and crisp.
- Transfer the toasted kataifi to a bowl. Add the peanut butter and powdered sugar, then mix until fully combined and evenly coated.
- Remove the mold from the freezer and spread the kataifi mixture evenly over the hardened chocolate layer.
- Pour the remaining melted chocolate over the filling, smoothing the top. Return the mold to the freezer until fully set.
- Once completely firm, carefully remove the chocolate bar from the mold.
- Enjoy fresh, or store in a chilled environment for up to 14 days.