
Saint Patrick’s Day Rice Krispie Treats
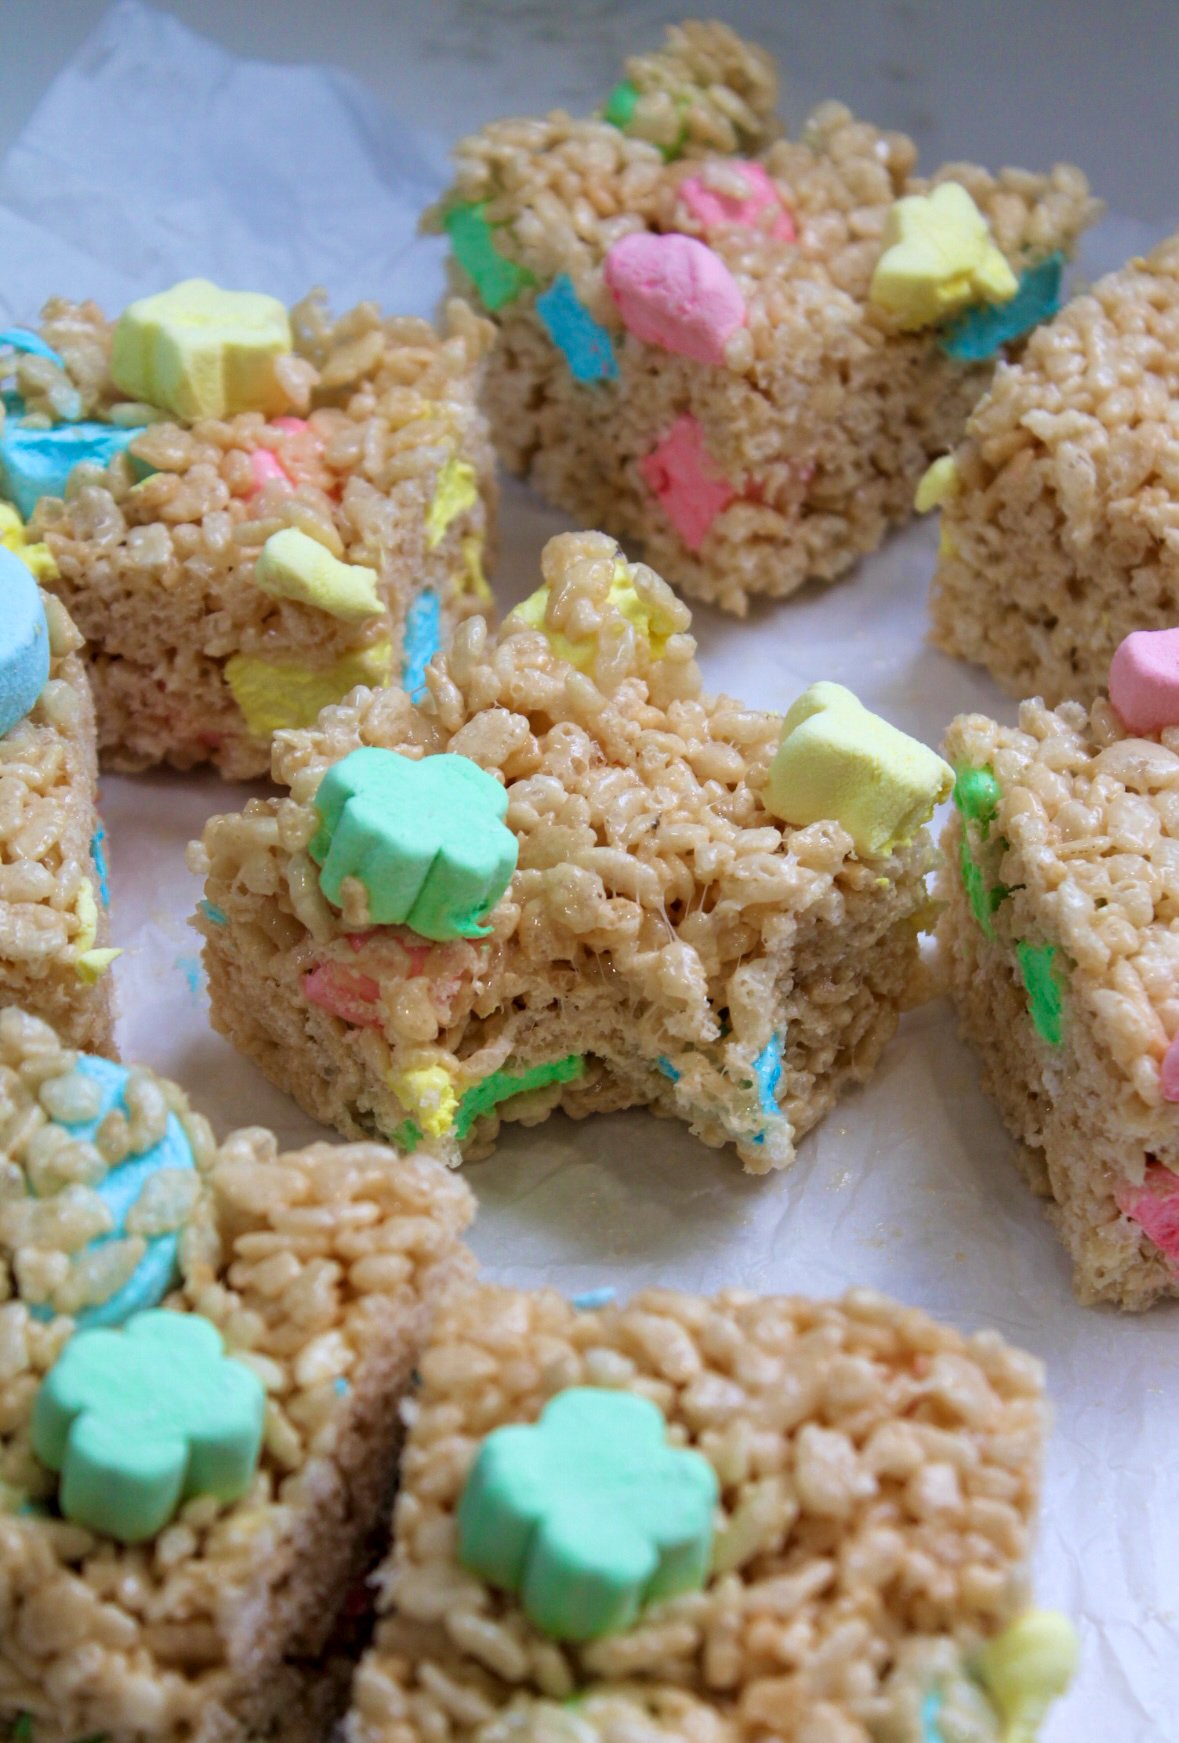
Get ready for the easiest St. Patrick’s Day treat ever, because you truly cannot beat a classic Rice Krispie treat. These festive little squares are no-bake, come together in minutes, and use just a handful of simple ingredients you probably already have on hand. Soft, gooey, and perfectly chewy with that signature marshmallow pull, they’re dressed up with a pop of green to make them holiday ready! Quick, simple, and magically delicious, just the way St. Patty’s Day treats should be!
Better Than the Store-Bought Classic
There’s something so nostalgic about those store-bought Rice Krispie treats, but homemade truly takes them to a whole other level. They are softer, gooier, and packed with that fresh marshmallow flavor that just melts in your mouth. Plus, when you make them yourself, you can control exactly how buttery and marshmallow-loaded they are (which, in my opinion, should always be extra)! Once you try them homemade, you’ll never look at the packaged version the same way again!
Why I Measure in Grams (and You Might Want To, Too)
If you’ve ever made the same recipe twice and gotten two totally different results, the measuring method is often the reason.
Professional bakeries almost always measure by weight, not volume. Measuring cups leave room for inconsistency—especially with ingredients that pack differently depending on how you scoop or pour them. A scale removes all of that guesswork.
One of the biggest offenders is sugar. Different sugars (and even the same sugar measured by different people) can vary wildly in volume, but 100 grams is always 100 grams. Measuring by weight gives you repeatable, bakery-consistent results and cuts down on extra dishes at the same time.
A food scale is one of the best (and most affordable) investments you can make for your kitchen if you love baking and want your recipes to turn out exactly the same every time.
Ingredients To Prepare
Before baking, take a few minutes to gather the ingredients below and to ensure that they are soft, fluffy, and perfect for St. Patrick’s Day!
Once you have all of the ingredients ready to go, you’re officially set up for St. Patrick’s Day Rice Krispy Treat success. I always recommend measuring everything out ahead of time so the process is smoother, and you can focus on making the best Rice Krispy Treats possible!
Saint Patrick’s Day Rice Krispie Treats
Ingredients
- 3 cups mini marshmallows
- 5 cups Rice Krispy cereal
- 3 tbsp butter
- 1 tbsp vanilla extract
- 2 cups Lucky Charms Marshmallows
- Lucky Charms Marshmallows
Method
- In a large microwave-safe bowl, melt the butter and mini marshmallows in two 30-second intervals, stirring between each interval until fully melted and smooth.
- Be careful not to overheat — you just want everything melted and combined.
- Once the butter and marshmallows are fully melted and smooth, stir in the vanilla extract until incorporated.
- Add the Rice Krispies cereal to the marshmallow mixture.
- Gently fold and mix until the cereal is evenly coated.
- Fold in the Lucky Charms marshmallows, mixing just until evenly distributed throughout the mixture.
- Transfer the mixture into a parchment-lined 8×8-inch square pan.
- Use a spatula (or lightly greased hands) to gently press the mixture down evenly. Do not press too hard — this keeps the bars soft and chewy.
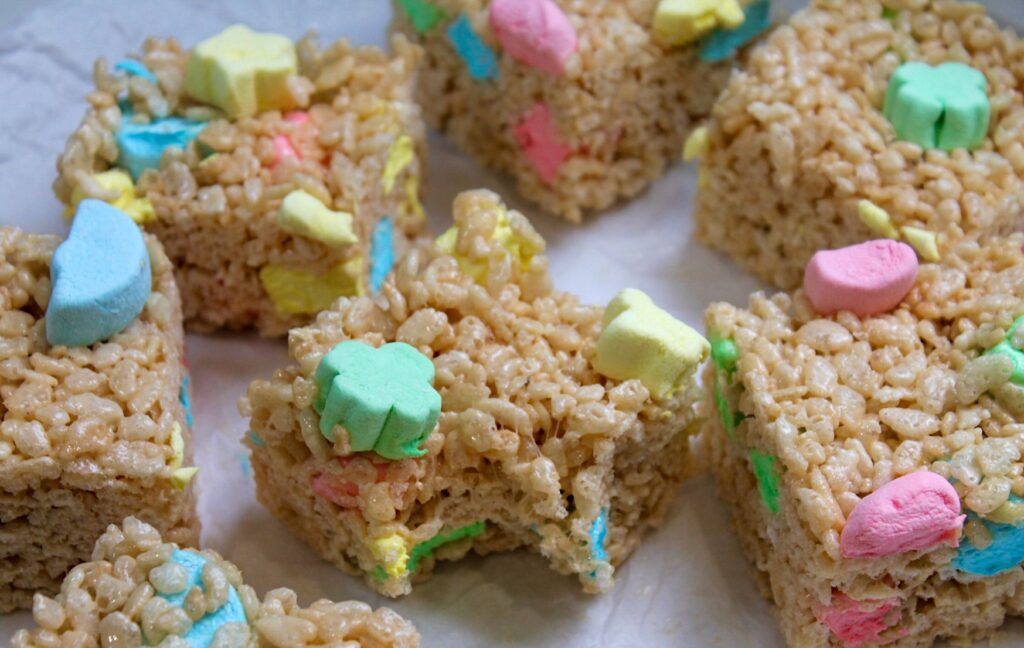
- Sprinkle extra Lucky Charms marshmallows on top and lightly press them into the surface.
- Let the bars chill for 60–90 minutes, or until fully set.
- Cut into 9 squares (3×3).
- Enjoy fresh, or store in an airtight container for up to 8 days.
Nutrition
Private Notes
Tried this recipe?
Let us know how it was!


I’m from Ireland and can5 find lucky charms are there any alternatives?