
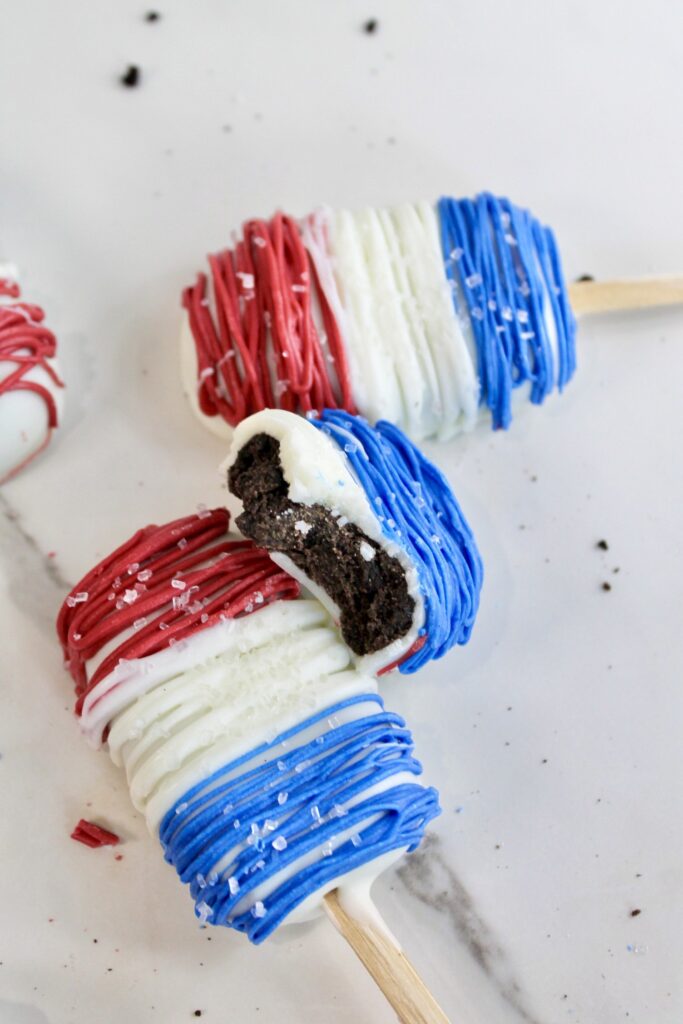
July 4th Peanut Butter Oreo-Sicles
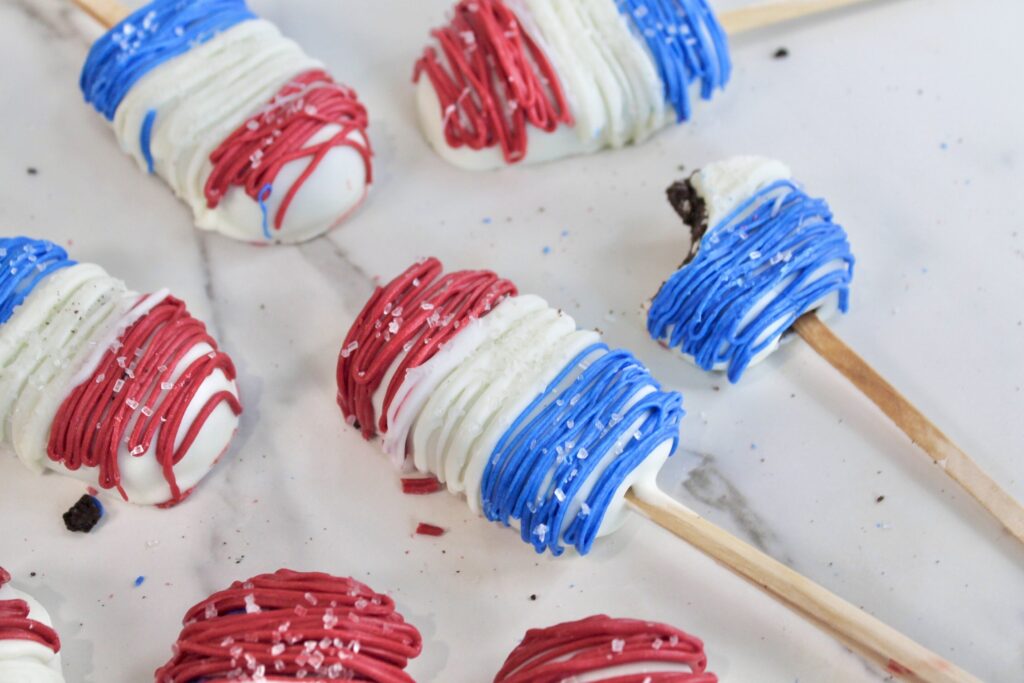
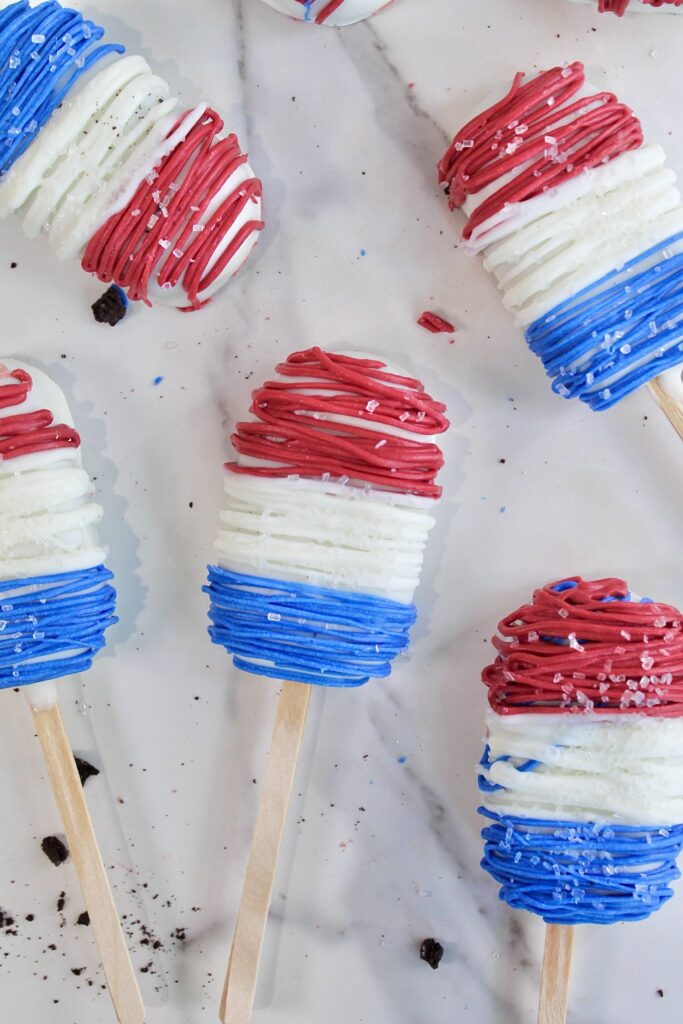
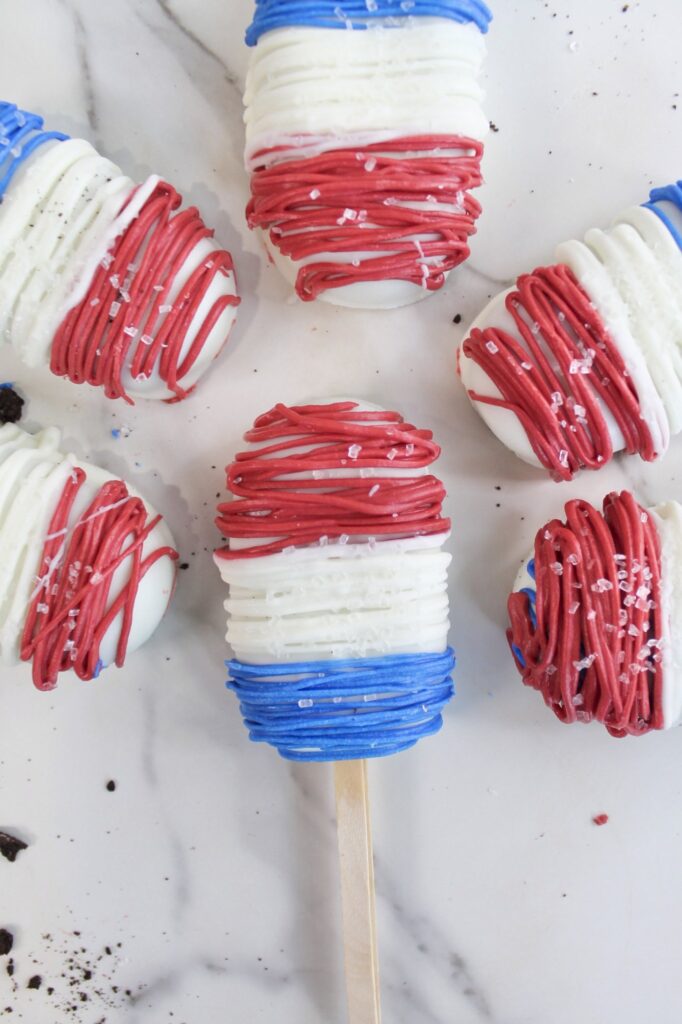
The inspiration for these Oreo Peanut Butter Cakesicles came straight from the summer. With a little extra free time on my hands, I finally got around to watching movies I’d somehow never seen before, including The Parent Trap. If you’ve seen it, then you probably know exactly where the classic peanut butter and Oreo combination comes from. That iconic snack pairing immediately sparked the idea for this recipe. But since we were creating these for the Fourth of July, we knew we had to give them a patriotic twist. That’s how this super easy, minimal ingredient, no bake, cakesicles came to be. And because nothing says summer quite like frozen treats on a stick, we decided to make them popsicle shaped and finish them off with a classic red, white, and blue pop inspired design!

Keep Your Cool
If there’s one trick to making cake pops easier, it is keeping everything cold. Chilling the cake pop balls before adding the sticks helps them stay stable, hold their shape, and prevent them from sliding right off the stick. We also like to pop them back into the fridge after inserting the sticks and again after dipping them in white chocolate. The cooler the cake pops are, the faster the coating sets, which means less dripping, easier decorating, and a much smoother process overall. And if you’re not in the mood to deal with sticks at all, don’t! You can easily skip them and simply place the coated cake pop on a parchment lined tray instead. They’ll taste exactly the same, look just as cute, and save you from the most finicky part of cake pop making.
Why I Measure in Grams (and You Might Want To, Too)
If you’ve ever made the same recipe twice and gotten two totally different results, the measuring method is often the reason.
Professional bakeries almost always measure by weight, not volume. Measuring cups leave room for inconsistency—especially with ingredients that pack differently depending on how you scoop or pour them. A scale removes all of that guesswork.
One of the biggest offenders is sugar. Different sugars (and even the same sugar measured by different people) can vary wildly in volume, but 100 grams is always 100 grams. Measuring by weight gives you repeatable, bakery-consistent results and cuts down on extra dishes at the same time.

A food scale is one of the best (and most affordable) investments you can make for your kitchen if you love baking and want your recipes to turn out exactly the same every time.
Ingredients To Prepare
Before baking, take a few minutes to gather the ingredients below and to ensure that they are sweet, nutty, and perfectly patriotic!
Once you have all of the ingredients ready to go, you’re officially set up for 4th of July cake popsicle success. I always recommend measuring everything out ahead of time so the process is smoother and you can focus on making the best cake pops possible!

July 4th Peanut Butter Oreo-Sicles
Ingredients
- 20 oreos
- 4 oz cream cheese
- 1/2 cup peanut butter
- 2 cups white chocolate
- Red, White, & Blue food coloring
- 1 tbsp vegetable oil if needed
- clear sprinkles optional
Method
- Add the Oreos to a food processor and pulse until they are broken down into fine crumbs with a few small chunks remaining, about 20–30 seconds.
- Transfer the crushed Oreos to a large mixing bowl. Add the peanut butter and room-temperature cream cheese, then mix until everything is evenly incorporated and a thick dough forms.
- Scoop about 1½ tablespoons of the Oreo truffle mixture into each popsicle mold, pressing it down firmly to evenly distribute the mixture. Insert a popsicle stick into each mold and transfer to the refrigerator or freezer to chill for 15–30 minutes, or until firm.
- Add the white chocolate to a microwave-safe bowl. Microwave in 30-second intervals, stirring between each interval, until the chocolate is completely melted and smooth.
- Carefully remove the chilled popsicles from the molds. Dip each popsicle into the melted white chocolate, allowing any excess to drip off. Place them on a parchment-lined baking sheet or plate and let the coating set.
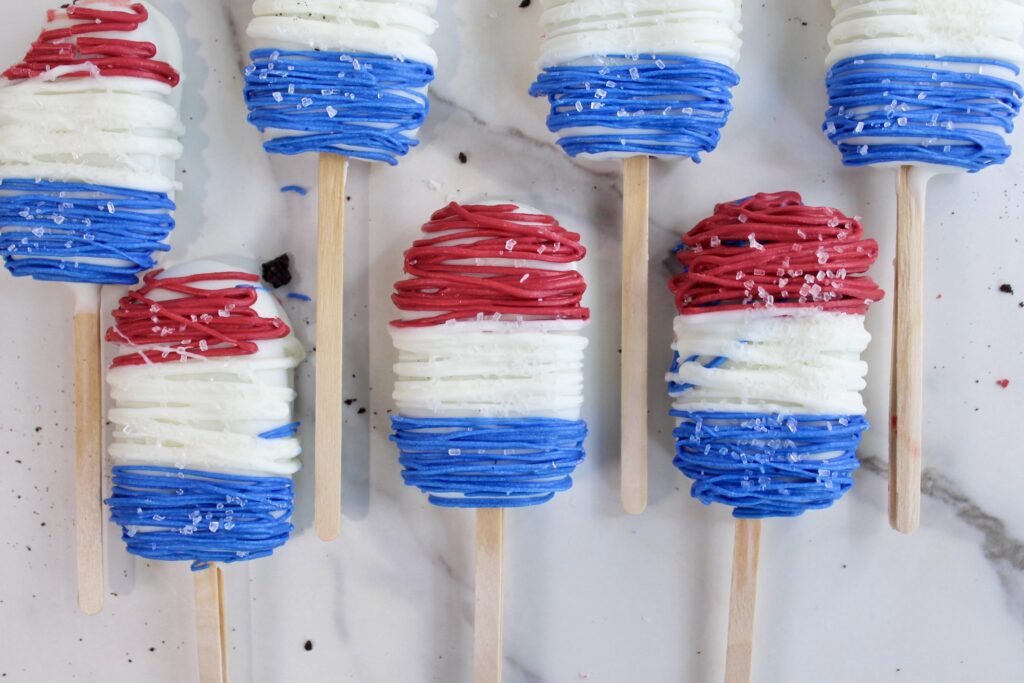
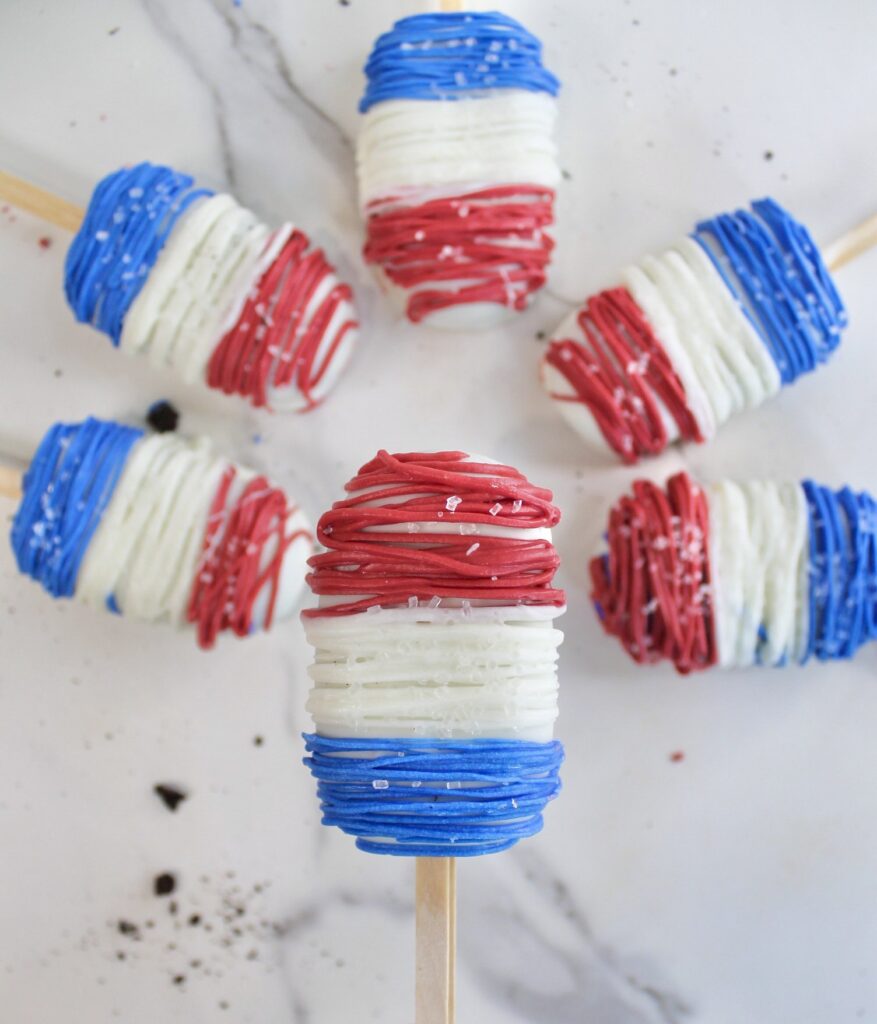
- For a festive red, white, and blue design, divide the melted white chocolate into three separate bowls. Color one red, leave one white, and color the third blue. If the food coloring causes the chocolate to thicken, stir in a small amount of coconut oil or neutral oil until smooth. Transfer each color to a piping bag or small plastic bag. Drizzle the red chocolate over the top third of each popsicle, the white chocolate across the center, and the blue chocolate over the bottom third. Allow the decorations to set completely before serving.
Nutrition
Private Notes
Tried this recipe?
Let us know how it was!