

Oreo Cheesecake Cookies
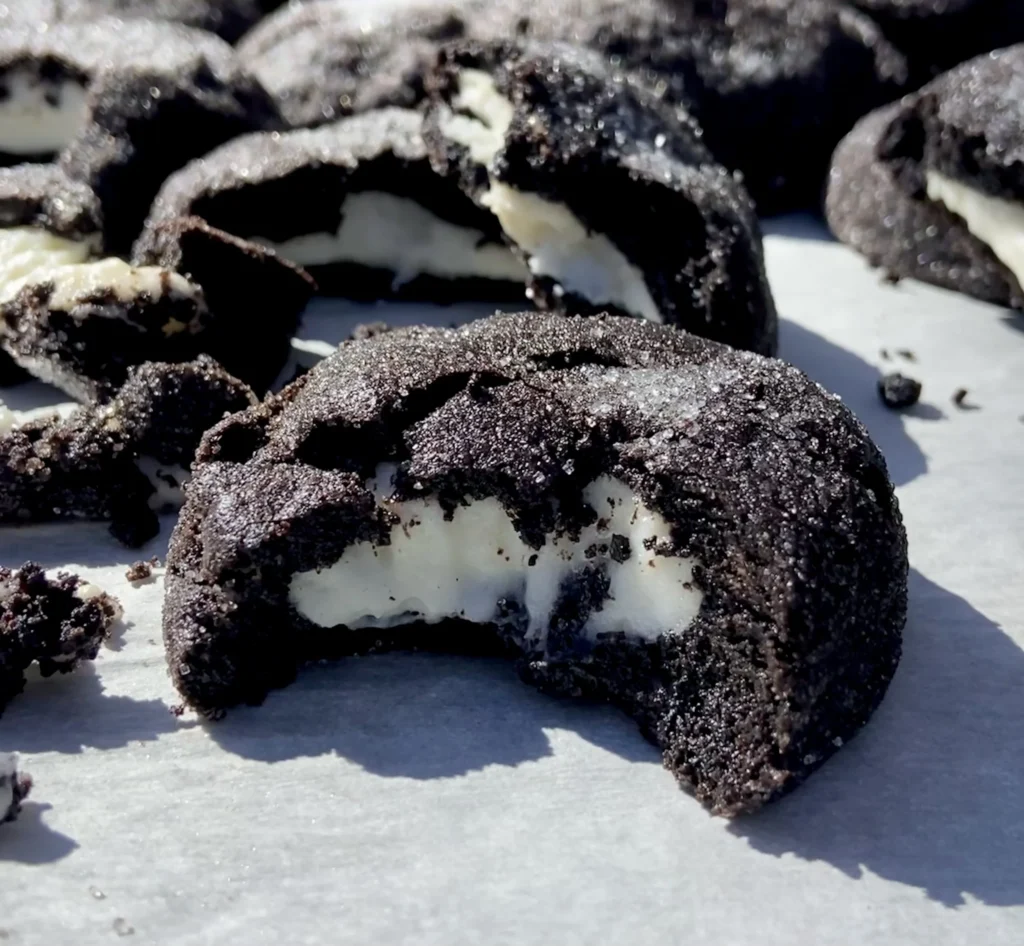
If you’re looking for a cookie that is guaranteed to impress, look no further, these Oreo Cheesecake Cookies are it. On the outside, they’re soft, chocolatey, and infused with Oreos, giving it that signature Oreo flavor throughout, but the real showstopper is the creamy, dreamy cheesecake center hidden inside. No matter who you serve them to, family, friends, or coworkers, everyone is going to love these. They look like a classic chocolate cookie on the outside, but one bite reveals the delicious surprise, making them the perfect treat to wow anyone at your dessert table!

The Chill Trick for Picture-Perfect Cookies
One little tip that quickly became a must during testing our cheesecake stuffed cookies is cooling the cheesecake filling before baking the cookies. At first, we skipped this step and ended up with cheesecake oozing all over the pan, delicious, yes, but definitely not the neat, picture-perfect cookies we were aiming for. Letting the filling chill first keeps it stable and makes it much easier to work with, so each cookie has that perfect creamy center without any messy mishaps. It’s a simple step, but it’s the real key to getting beautifully formed Oreo cheesecake cookies every single time.

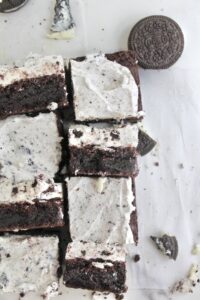
If you love the flavor but want something even easier, we actually have this recipe in bar form too! No need to carefully wrap each cookie around a filling, just throw all the ingredients into a pan, bake, and you’ve got the same delicious Oreo and cheesecake magic in a simpler, fuss-free format. Perfect for when you want the taste without all the assembly, or if you’re making a big batch for a crowd. It’s like all the deliciousness, minus the extra steps!
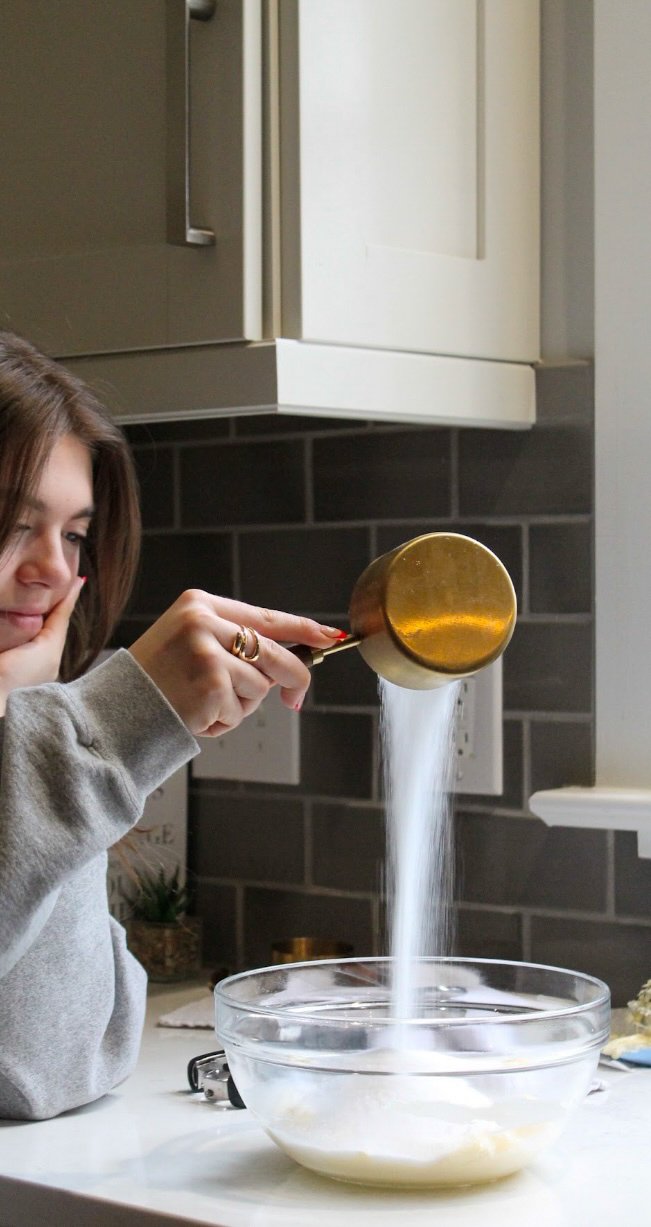
Why I Measure in Grams (and You Might Want To, Too)
If you’ve ever made the same recipe twice and gotten two totally different results, the measuring method is often the reason.
Professional bakeries almost always measure by weight, not volume. Measuring cups leave room for inconsistency—especially with ingredients that pack differently depending on how you scoop or pour them. A scale removes all of that guesswork.
One of the biggest offenders is sugar. Different sugars (and even the same sugar measured by different people) can vary wildly in volume, but 100 grams is always 100 grams. Measuring by weight gives you repeatable, bakery-consistent results and cuts down on extra dishes at the same time.
A food scale is one of the best (and most affordable) investments you can make for your kitchen if you love baking and want your recipes to turn out exactly the same every time.
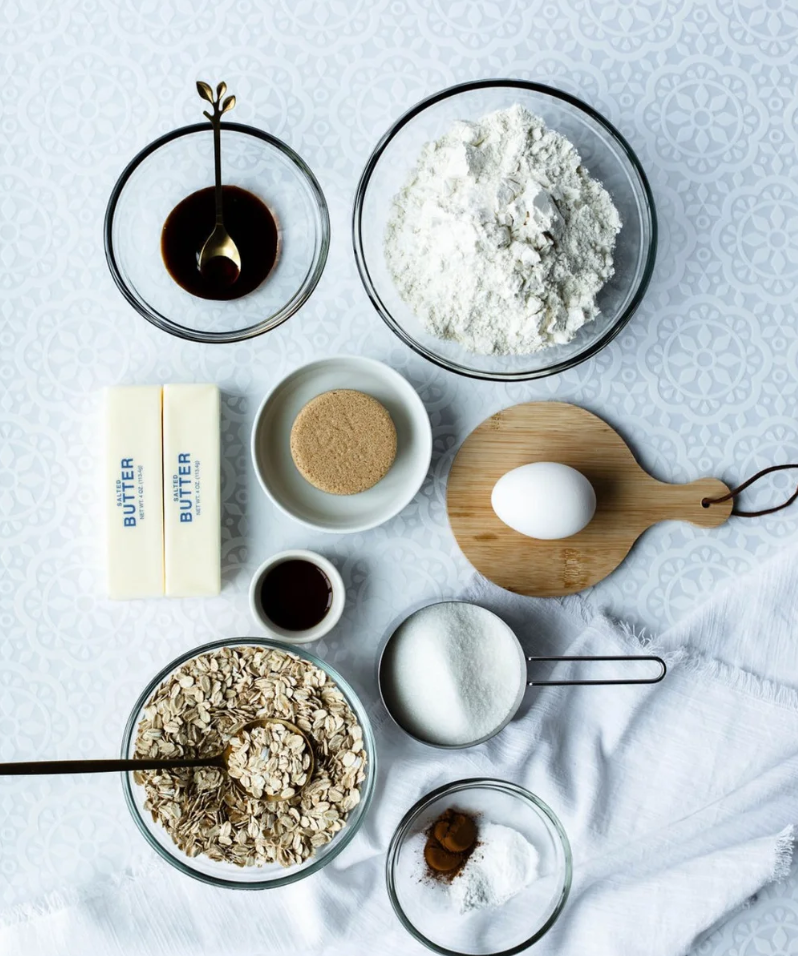
Ingredients To Prepare
Before baking, take a few minutes to gather the ingredients below and to ensure that they are soft, chewy, and perfectly creamy!
Once you have all of the ingredients ready to go, you’re officially set up for Oreo cheesecake cookie success. I always recommend measuring everything out ahead of time so the process is smoother, and you can focus on making the best cookies possible!
Oreo Cheesecake Cookies
Ingredients
- 1 cup butter
- 1/3 cup of brown sugar light or dark
- 3/4 cup granulated sugar
- 1 large egg
- 2 tsp vanilla extract
- 1 tbsp molasses optional
- 1 tbsp corn syrup optional
- 1/2 cup black cocoa powder
- 2 1/4 cup of All-purpose flour
- 1 tbsp espresso powder optional
- 1 tsp baking soda
- 1/2 tsp baking powder
- 1/4 tsp of salt optional
- 6 crushed Oreo cookies
- 1 cup cream cheese
- 1/2 cup powdered sugar
- 1 tsp vanilla
- 1/2 cup granulated sugar
Method
- Preheat the oven to 350°F (convection). In a small bowl, mix cream cheese with powdered sugar and vanilla until smooth. Scoop 1-tablespoon balls (about 14–16 grams each) onto a parchment-lined tray or plate and freeze for 30 minutes to an hour. You should have around 12 cream cheese balls once prepared.
- Meanwhile, start the cookie dough by beating room-temperature butter in a stand mixer or by hand for 3–5 minutes, until pale and off-white.
- Add brown sugar and white sugar to the butter. Beat until light and fluffy, about 2 minutes.
- Mix in the large egg until fully incorporated. Add vanilla extract, and if desired, corn syrup and molasses.
- Add flour, baking soda, baking powder, cocoa powder, espresso powder, and salt. Mix on low speed with a stand mixer or fold gently with a spatula until a soft dough forms. For extra Oreo flavor, slightly crush 6 whole Oreos and fold them into the dough (optional).
- Scoop ⅓-cup portions of dough (about 80 grams) and place one on a baking tray as a test cookie. This helps check oven temperature, ingredient balance, and how much the cookie spreads.
- If the test cookie spreads too much, add 1–2 tablespoons of flour to the dough to help the cream cheese stay centered. If it doesn’t spread much, flatten the dough slightly in your palm before baking. Once the cream cheese balls are frozen, flatten each dough portion in your palm, place a cream cheese ball in the center, and fold the dough around it to secure. Roll each cookie dough ball in sugar if desired.
- Place the prepared cookies on a parchment-lined tray and bake for 9–10 minutes for a 1/3-cup scoop, until edges are set but centers remain soft.
- For perfectly round cookies, gently swirl a circular bowl, cup, or cookie cutter around each warm cookie to clean up the edges. Let cookies rest on the tray for about 10 minutes before transferring.
- Enjoy fresh, or store in the fridge for up to 10 days.


Do you add vanilla extract twice? Its written twice so i just need confirmation
Looks like you add it in two different parts of the recipe
What would the recipe be gluten free. My wife had a gluten allergy