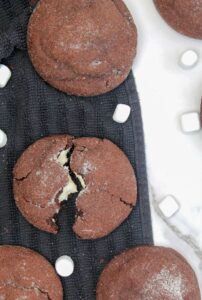

Red Velvet Cheesecake Cookies

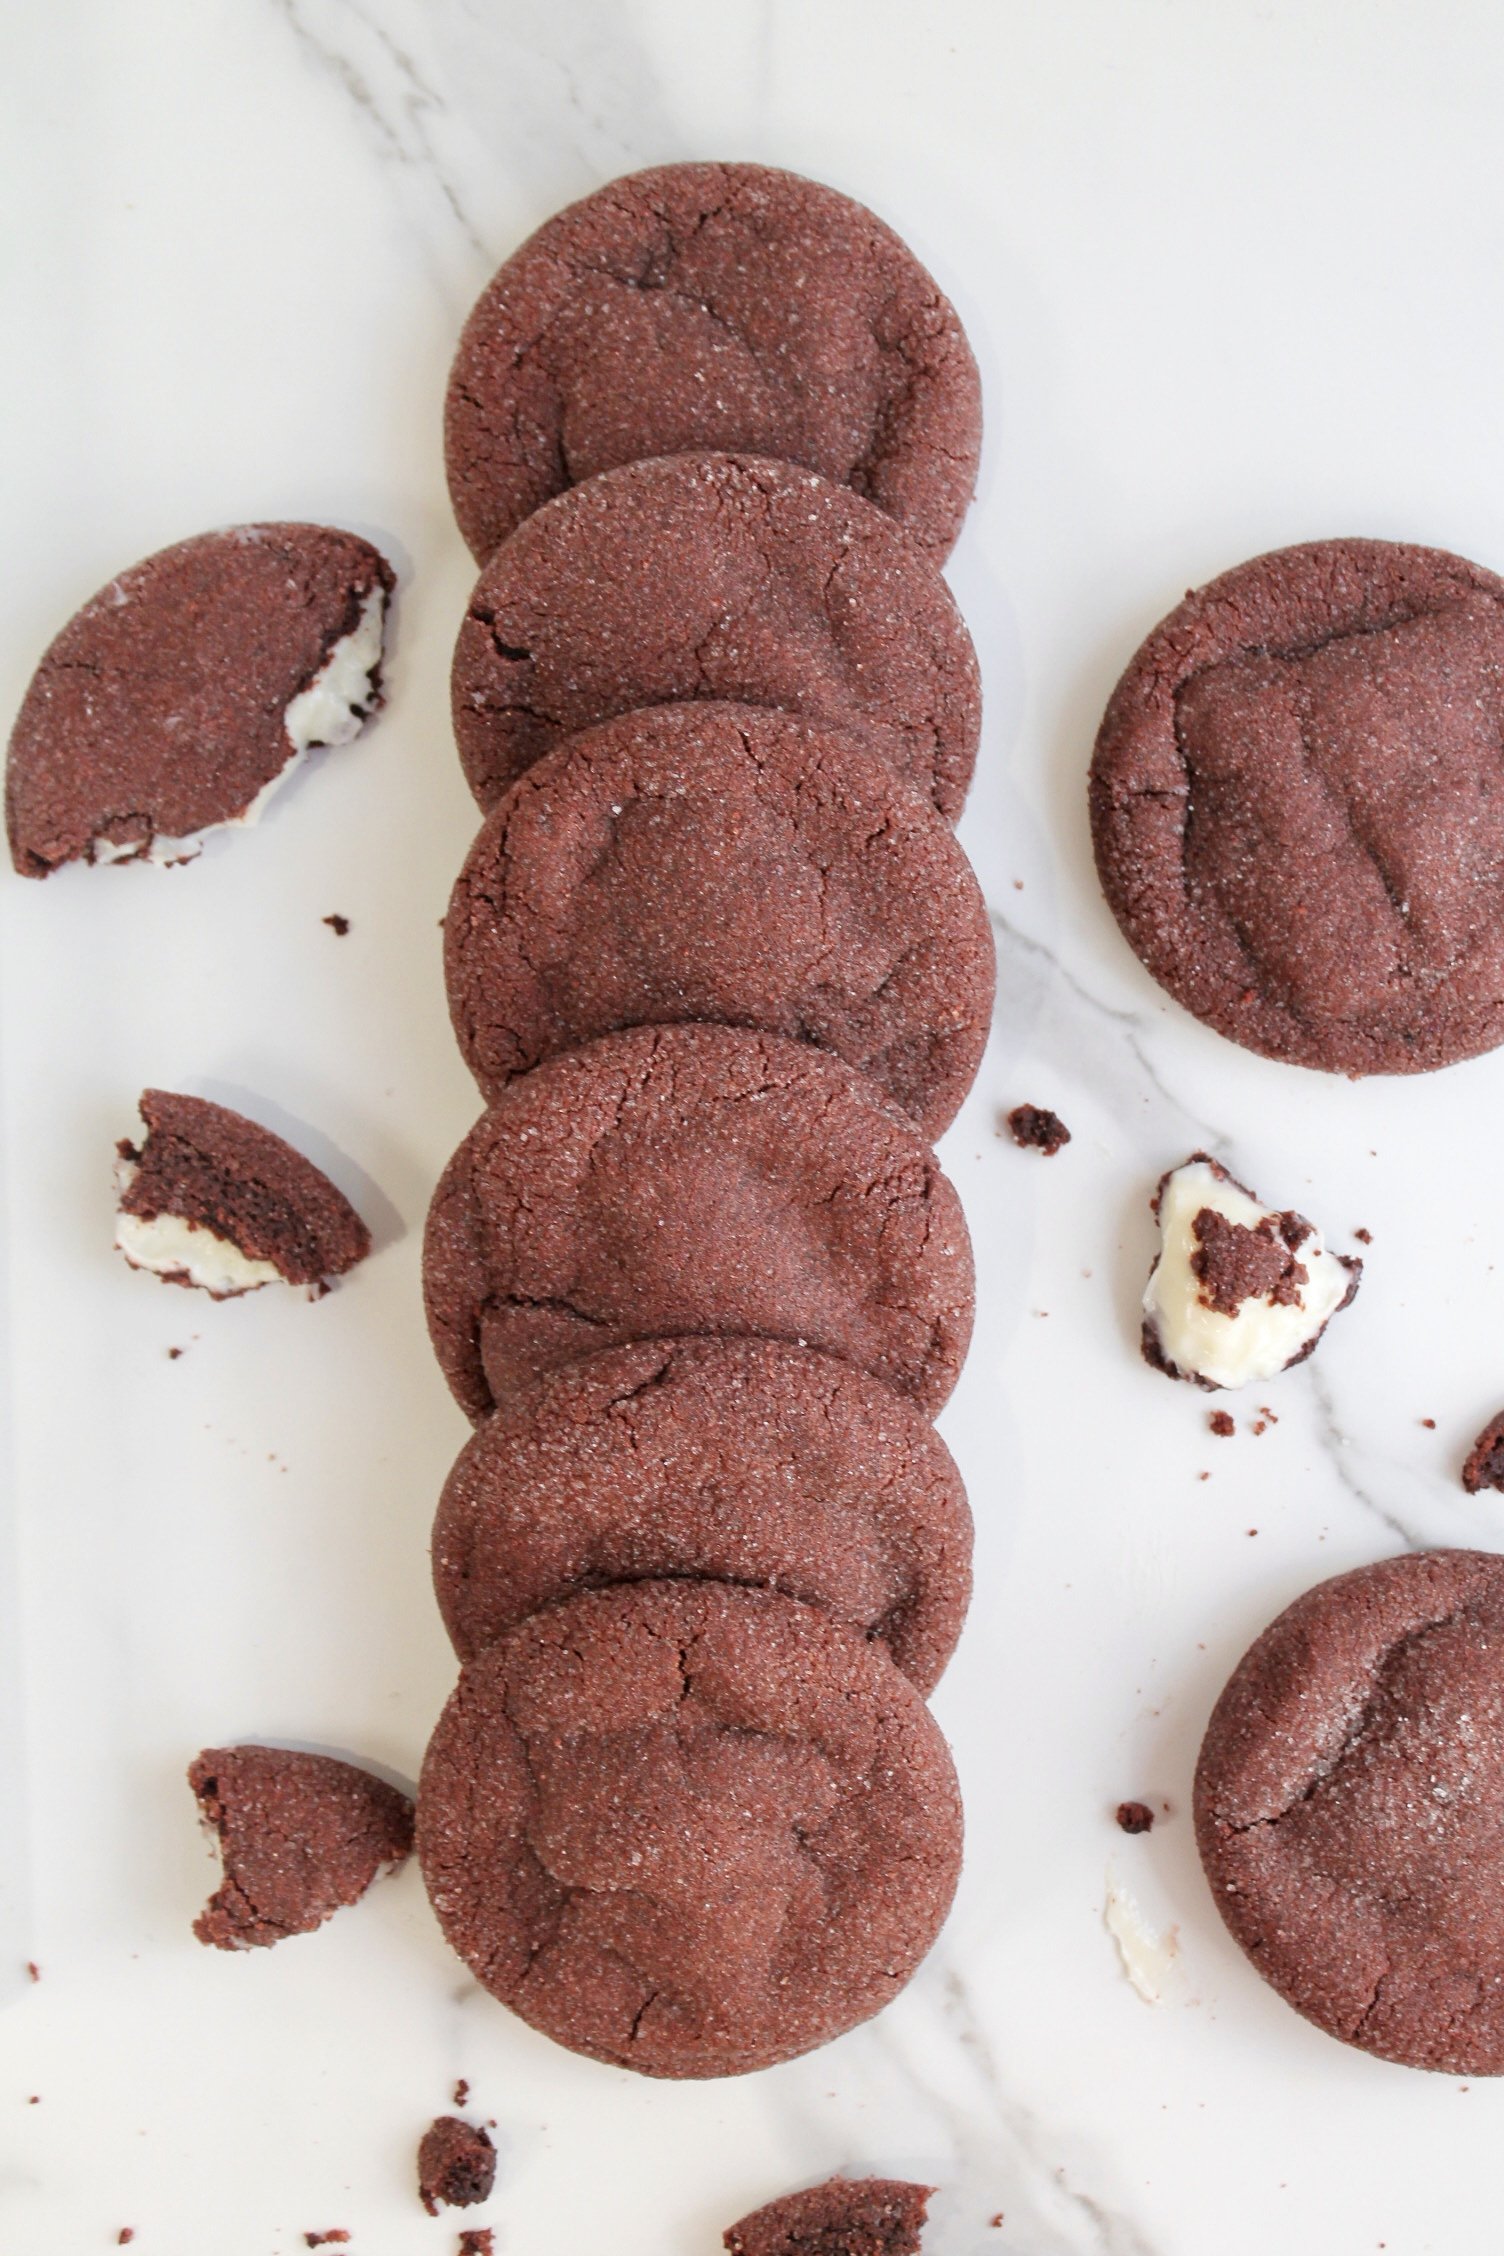
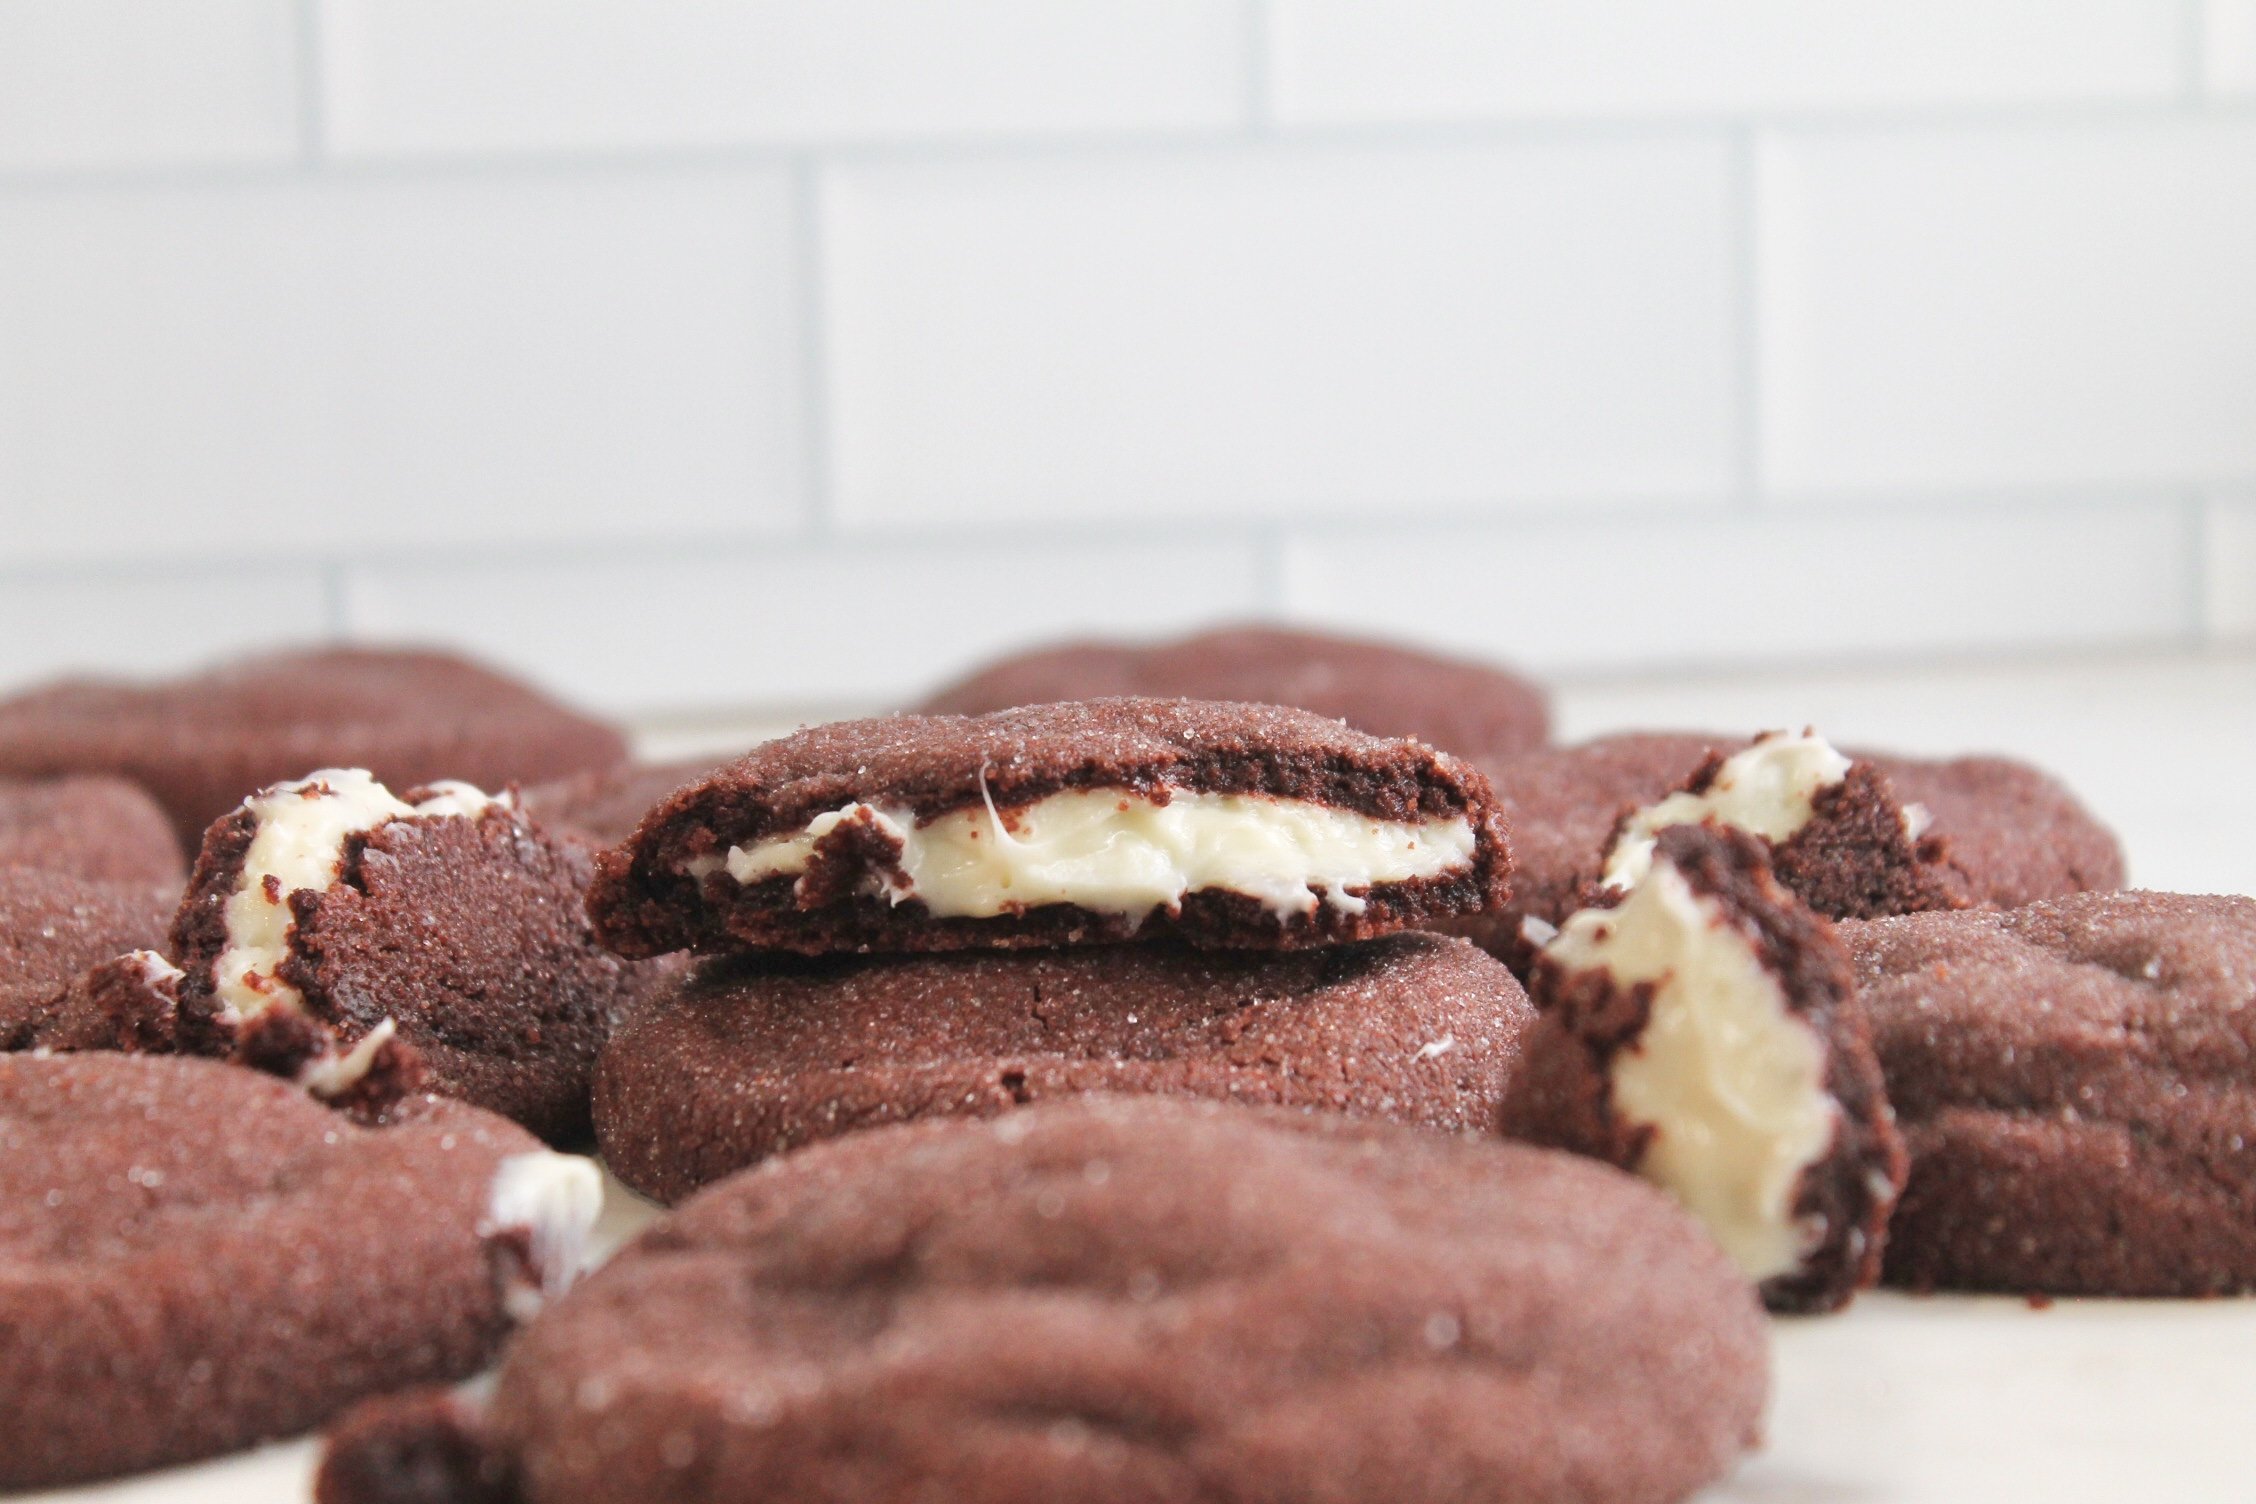
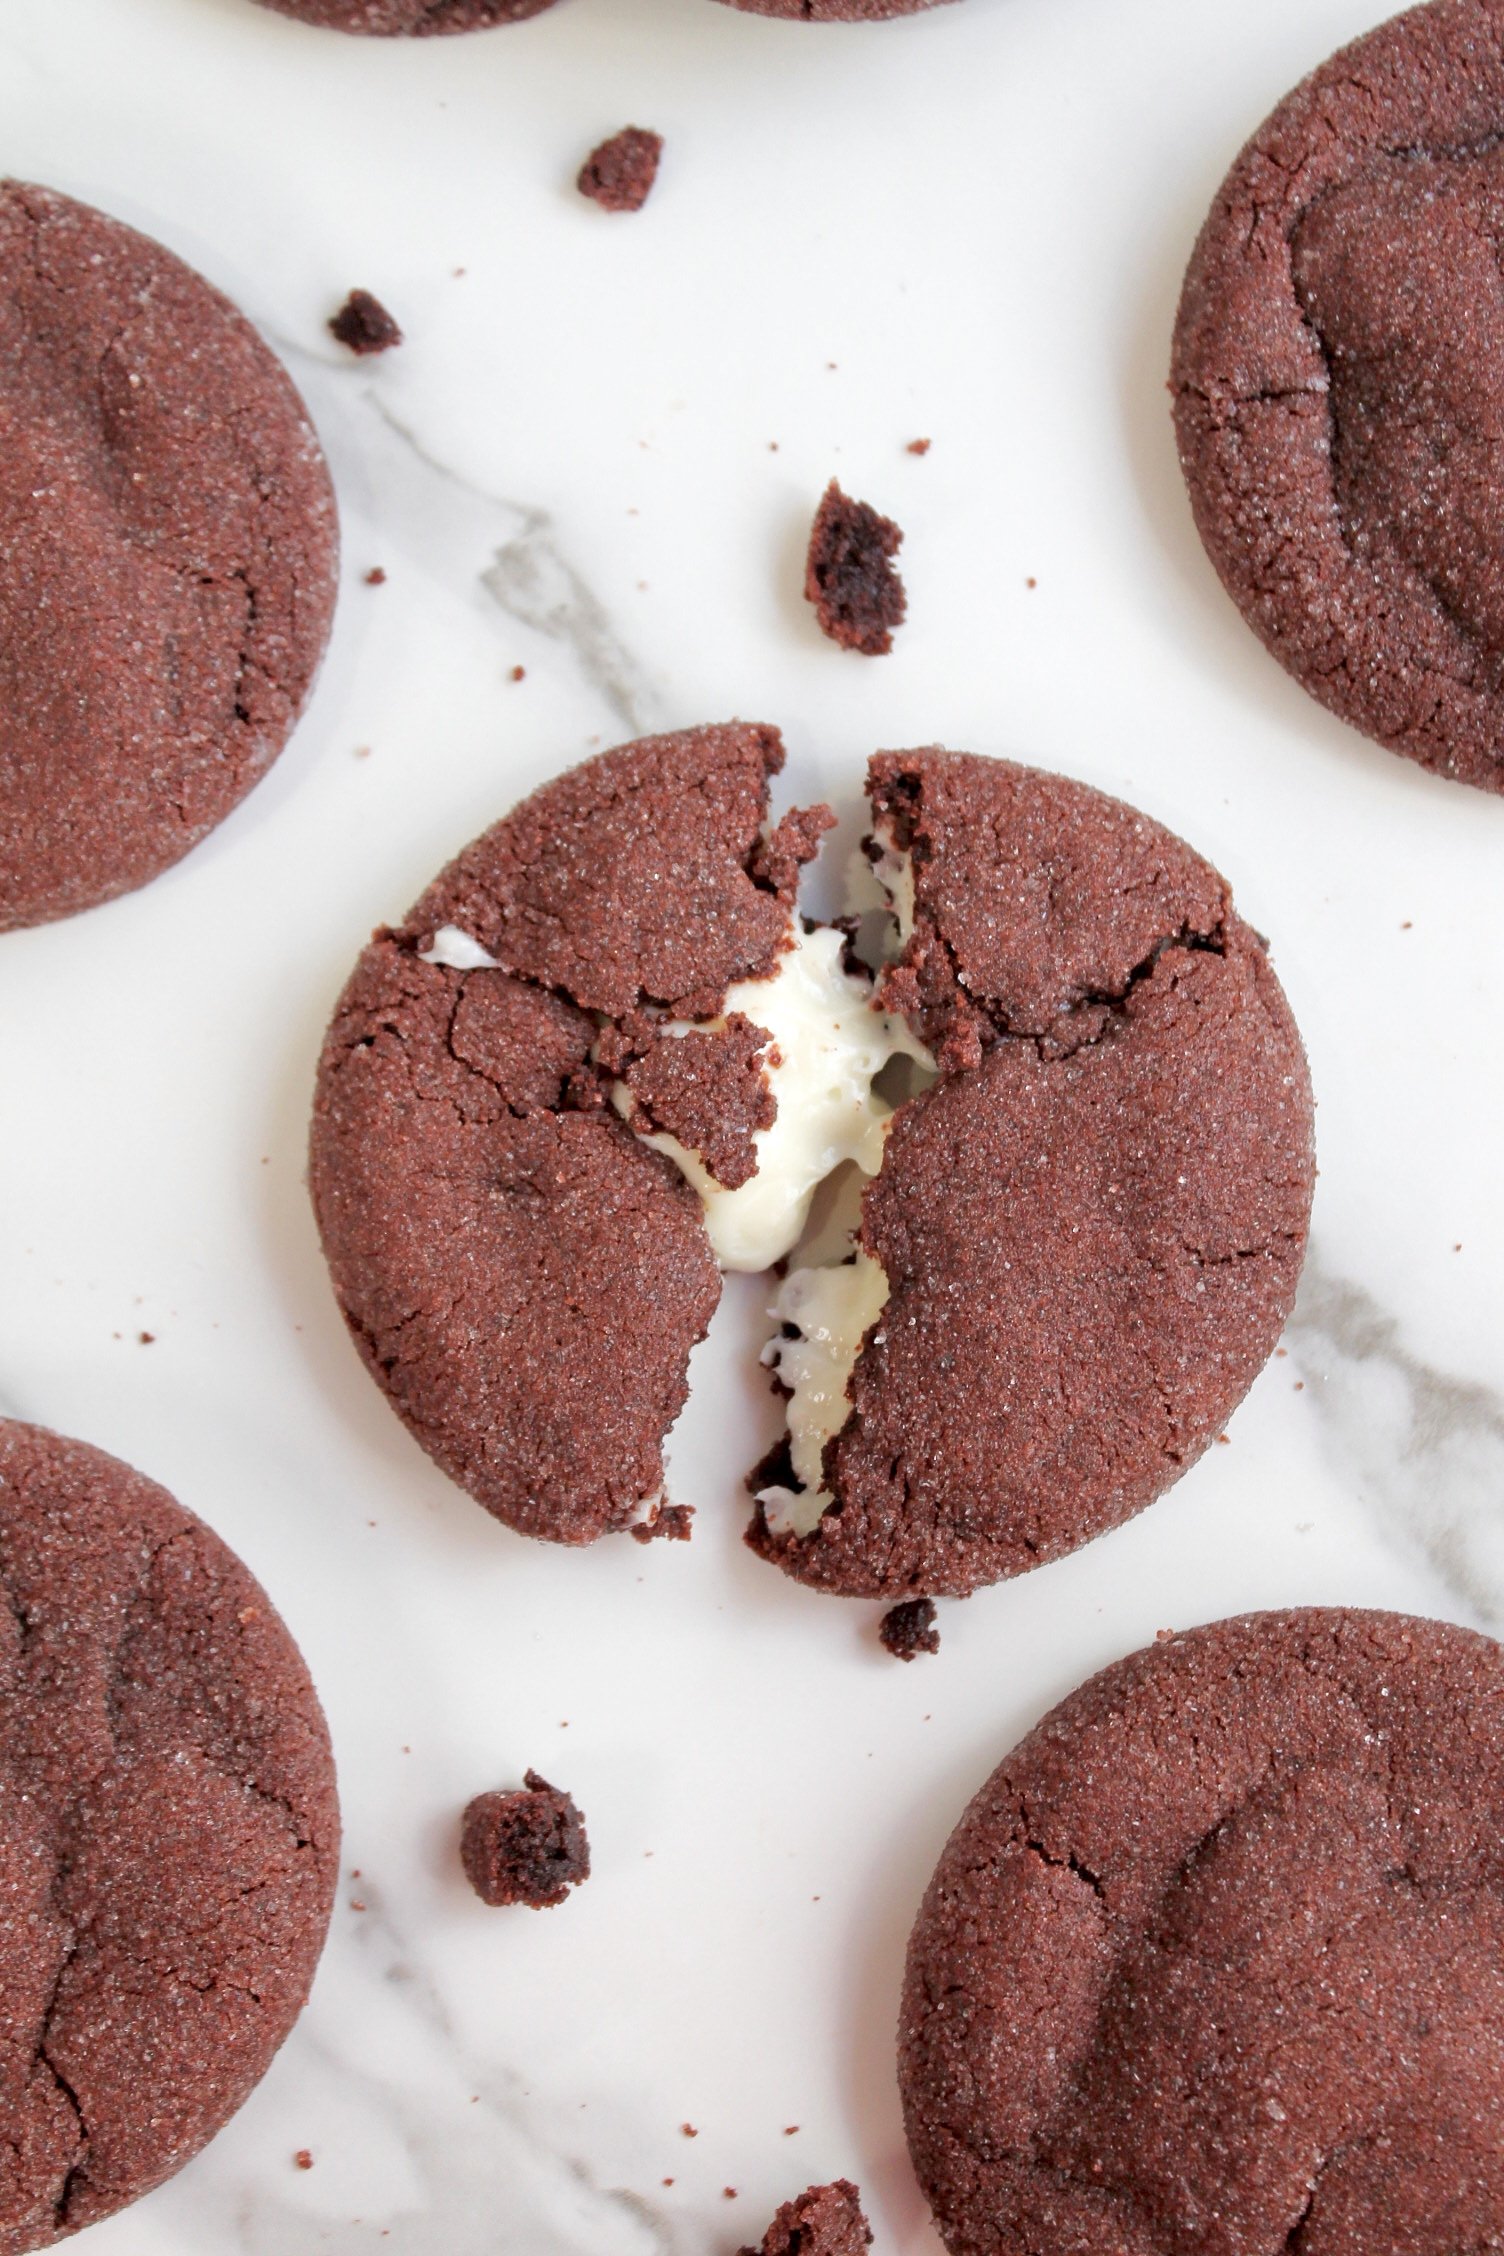
Say hello to your new favorite cookie obsession: Red Velvet Cheesecake Cookies. Imagine a soft, fudgy red velvet cookie hugging a gooey, creamy cheesecake center, basically a little dessert surprise in every bite. They’re sweet, slightly chocolatey, and just the right amount of tangy from the cheesecake filling, all rolling in sugar for that perfect sparkly finish! It’s like a party in your mouth, with a little surprise waiting inside each cookie, and honestly, they might just disappear before you can even share them. These are the kind of cookies that make holidays, special occasions, or even just a Tuesday feel like a celebration!
The Chill Trick for Picture-Perfect Cookies
One little tip that quickly became a must during testing our cheesecake stuffed cookies is cooling the cheesecake filling before baking the cookies. At first, we skipped this step and ended up with cheesecake oozing all over the pan, delicious, yes, but definitely not the neat, picture-perfect cookies we were aiming for. Letting the filling chill first keeps it stable and makes it much easier to work with, so each cookie has that perfect creamy center without any messy mishaps. It’s a simple step, but it’s the real key to getting beautifully formed red velvet cheesecake cookies every single time.
These cookies were inspired by my favorite family vacation traditions, stopping at Ketchie Creek Bakery, a little gem we would always pass by. My mom’s absolute favorite cake of all time was there, but for the rest of the family, it was all about the red velvet cake, with the creamiest, dreamiest cream cheese frosting you could imagine. We loved it so much that we knew we had to capture that magic in cookie form, and like that, these Red Velvet Cheesecake Cookies were born! They’re our tribute to that unforgettable frosting, the perfect balance of red velvet and cheesecake, and a little slice of family nostalgia in every bite!
Why I Measure in Grams (and You Might Want To, Too)
If you’ve ever made the same recipe twice and gotten two totally different results, the measuring method is often the reason.
Professional bakeries almost always measure by weight, not volume. Measuring cups leave room for inconsistency—especially with ingredients that pack differently depending on how you scoop or pour them. A scale removes all of that guesswork.
One of the biggest offenders is sugar. Different sugars (and even the same sugar measured by different people) can vary wildly in volume, but 100 grams is always 100 grams. Measuring by weight gives you repeatable, bakery-consistent results and cuts down on extra dishes at the same time.
A food scale is one of the best (and most affordable) investments you can make for your kitchen if you love baking and want your recipes to turn out exactly the same every time.

Ingredients To Prepare
Before baking, take a few minutes to gather the ingredients below and to ensure that they are soft, chewy, and perfectly creamy!
Once you have all of the ingredients ready to go, you’re officially set up for red velvet cheesecake cookie success. I always recommend measuring everything out ahead of time so the process is smoother, and you can focus on making the best cookies possible!
Red Velvet Cheesecake Cookies
Ingredients
- 1 cup butter
- 3/4 cup granulated sugar
- 1/2 cup brown sugar
- 1 egg
- 2 tsp vanilla extract
- 1 tbsp molasses
- 1 tbsp red food coloring
- 1/2 cup cocoa powder
- 2 cups All-Purpose Flour
- 1 tsp baking soda
- 1/2 tsp baking powder
- 1 block cream cheese
- 1/2 cup powdered sugar
- 2 tsp vanilla extract
- 1/2 cup granulated sugar
Method
- Preheat the oven to 350°F (convection). In a small bowl, mix room-temperature cream cheese with powdered sugar and vanilla until smooth. Scoop 1-tablespoon balls onto a parchment-lined plate or tray and chill in the freezer while you prepare the cookies.
- In a stand mixer fitted with a whisk or paddle attachment, beat room-temperature butter with granulated sugar and brown sugar for 1–2 minutes, until light and off-white. Mix in the egg, molasses, red food coloring, and vanilla extract until fully combined.
- Add cocoa powder, all-purpose flour, baking powder, and baking soda to the mixture. Fold in gently until a soft dough forms.
- Bake a single cookie as a test to see how much your cookies will spread and to check that no ingredients were missed. Scoop ⅓-cup portions of dough, flatten slightly in your palm, and place a chilled cream cheese ball in the center. Fold the dough around the cream cheese, then roll the cookie dough ball in granulated sugar.
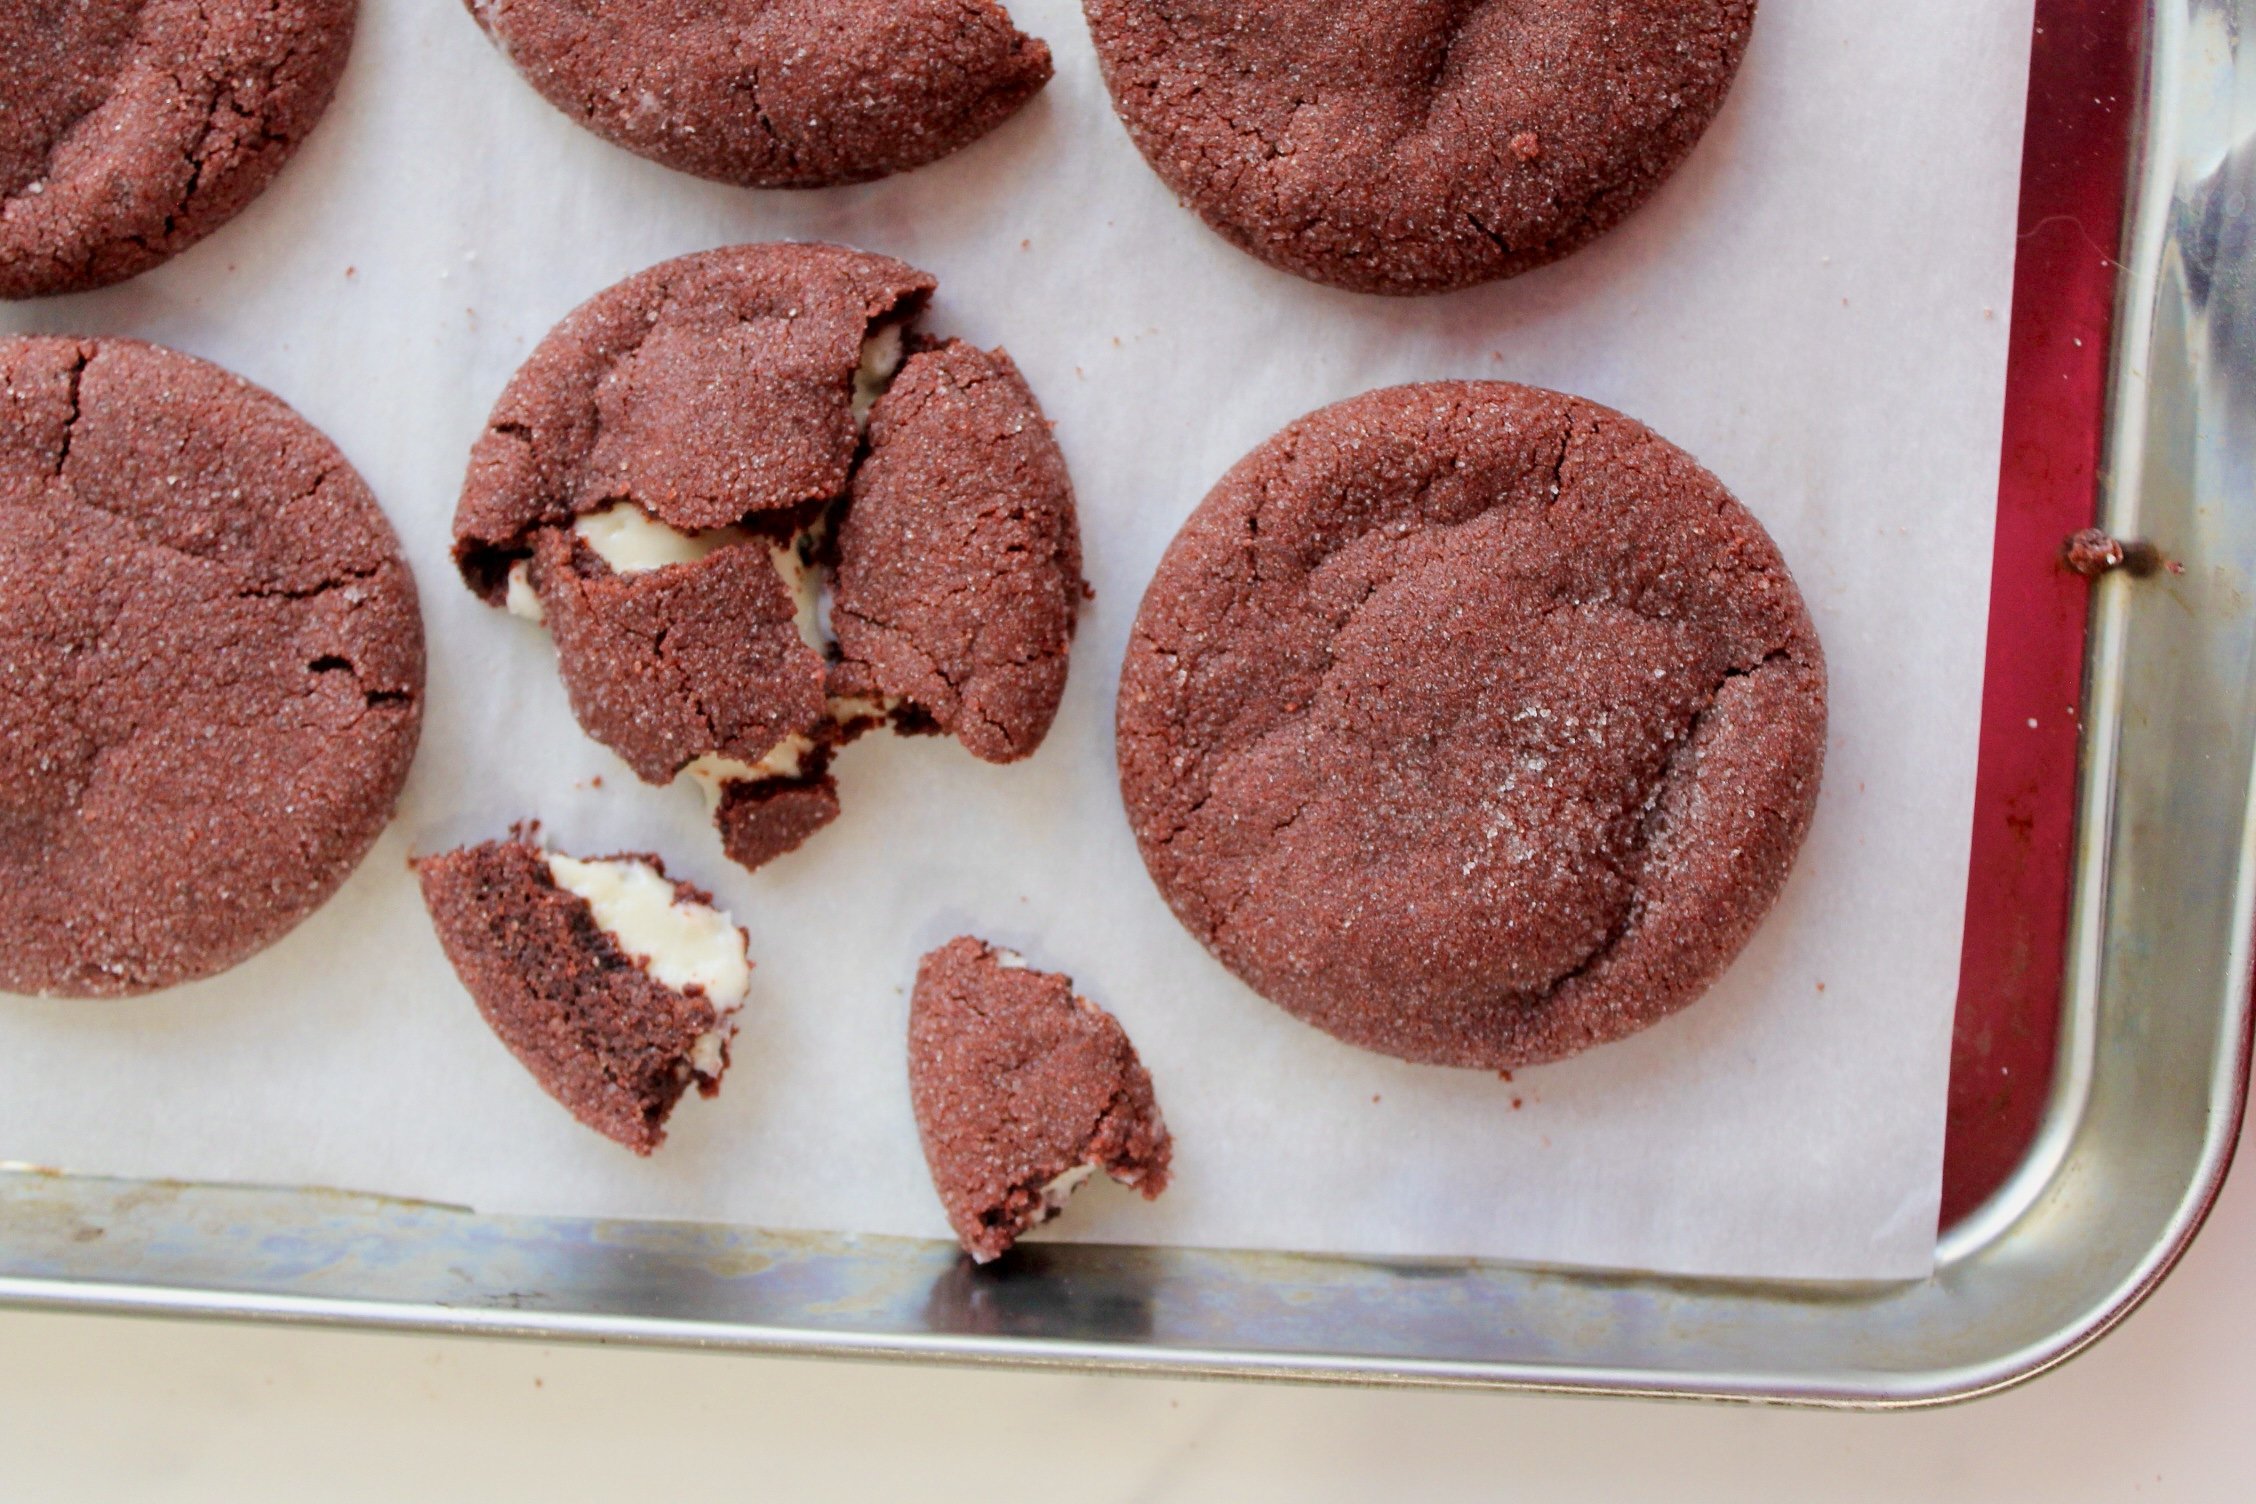
- Place the prepared cookie dough balls on a parchment-lined tray and bake for 12–13 minutes, until edges are set and cookies are soft in the center.
- For perfectly round cookies, gently swirl a circular bowl, cup, or cookie cutter around each warm cookie to clean up the edges. Let cookies rest on the tray for about 10 minutes before transferring.
- Enjoy fresh, or store in the fridge for up to 8 days.